Welcome to part 2 of how cycling aerodynamics effects the real world. This article will look at body position, training and most importantly how these translate into real results for you.
Introduction – Why I’m posting on this.
Part 1 – Aero gains for clothing
Let’s begin. The Perfect Body Position for Aero Savings
Aerodynamic savings on bicycles can cost a small fortune. What I love about getting gains from body position is that it is 100% free.
It seems pretty intuitive that lowering your body will reduce drag as you are making yourself a smaller object. But, which position is really the most efficient? And does fatigue impact aerodynamics? And when does vascular restriction outweigh the benefits from an aero position?
It turns out these all play important factors, and it’s not as simple as slamming a stem or using the drop bars to get gains. (I’ve tried both of these options).
What does David Miller have to say?
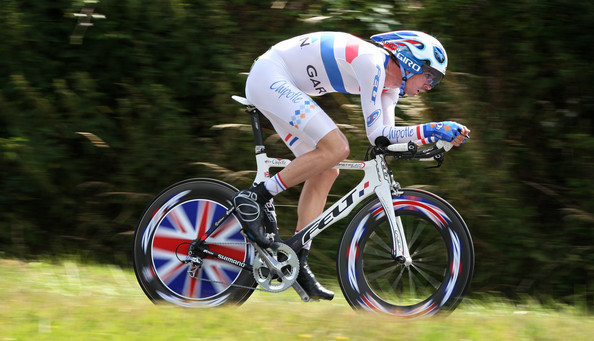
David Millar is a Scottish former professional road racing cyclist. He’s no saint, having admitted to using EPO, but he was the first British rider to have won the leaders jersey in all three Grand Tours. He was also the British Time Trial and Nation champion and has worn of all Tour de France Jerseys.
And, most importantly, he’s the most winningest time trialist that I know of who has shared his training techniques.

A1 coaching did a series of videos with David Miller. And he’s surprising forthright of his experiences with aero testing. He shared that he’s learned, that, “You can acquire as much data as you would like, be it from a home trainer or a wind tunnel, but when it comes down to it, it’s that course on a road where you will be able to gauge [the benefits of position] most consistently.”
He tells a story of working on his aero position with coach Peter Keen who did a lot of research and testing using wind tunnels and science. David thought that he also needed to do a lot of science to get his position right. But Keen said, “You look fast David, pretty much that’s what we’ve learnt. If you look fast, generally you are fast, and you can’t do much more about it.”
BikeRadar’s testing confirmed this line of reasoning. They showed that even though Ben Delaney could ride for a short time in a more aero position, he was actually losing aero performance (from lateral movement and constant adjustments) because his body wasn’t relaxed in that position.
So before we get into which position is most efficient. Here’s what David says are the five things he focused on to improve his position and performance.
Number 1: Get a course, so that tests are repeatable outdoors.
Number 2: Focus on your current position on your current equipment to get a benchmark.
Number 3: Apply training around the course you are trying to improve your time on.
Number 4: Make sure you have all the equipment that suites the course and temperature you are riding in.
Number 5: Race strategy. Your pre-race should be the same for every race.
Using David’s system in the real world
As a result of David’s interview I focused my training around my position. I dropped my stem to a position where I was just comfortable and began adding drop-position sessions into my weekly training.
Here’s what I learned. It’s hard to sustain the same effort in a more compact position. The reason was that my heart rate was higher at the same effort/pace with my body in a more compact aero position. With training I was able to increase high effort segments from 1 minute to 8 minutes on the handle bar drops. 12 minutes short of my 20 minute goal at my desired effort.
Was the training worth it?
Yes … and no.
Yes it was worth it for position training. One year on and I am much more comfortable in that new position. However, the performance gains I did experience from this kind of training did not translate into performance gains for century type rides. My original goal was to improve my functional threshold power FTP as well as my aero position. Instead I improved my anaerobic lactate threshold and my aero position.
As you will see below, it may have made more sense to focus on a less aggressive position.
Both GCN and BikeRadar have posted interesting studies on which body position on the bike is the most aero. However they took different approaches.
GCN did a test where they held the same watts over time and then tested for time savings. Whereas BikeRadar tested various positions and tested for watt savings. I think they are both equally interesting.
GCN’s Body Position Test & Results
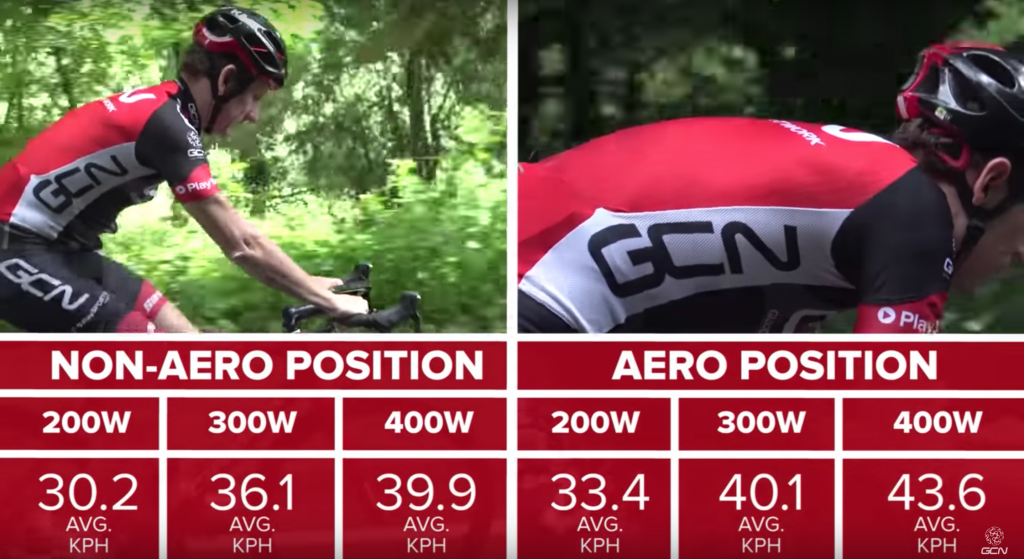
GCN tested riding with straight arms on the tops of the bars (non-aero position) versus riding with bent arms with hands on the drops. They saw a significant savings between the two.
Non-Aero Position:
- 200W – 30.2KPH
- 300W – 36.1KPH
- 400W – 39.9KPH
Aero Position
- 200W – 33.4KPH
- 300W – 40.1KPH
- 400W – 43.6KPH
Clearly, riding with your hands on the drops is much faster than riding with your hands on the top bars. But is it the most efficient position? BikeRadar helps answer that question below.
BikeRadar did another test in which they tested 4 positions.
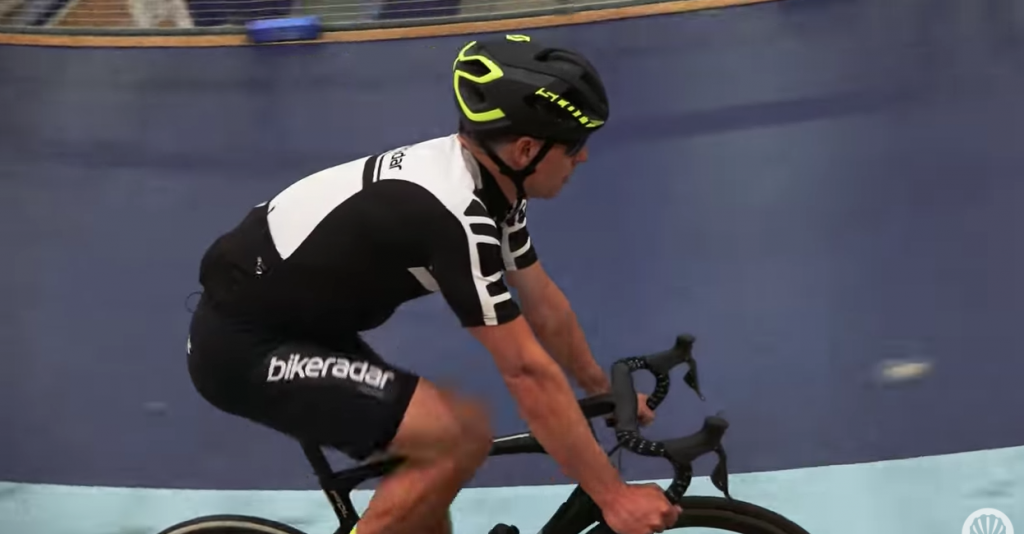
Position 1: Straight arms with hands on the tops.
Baseline
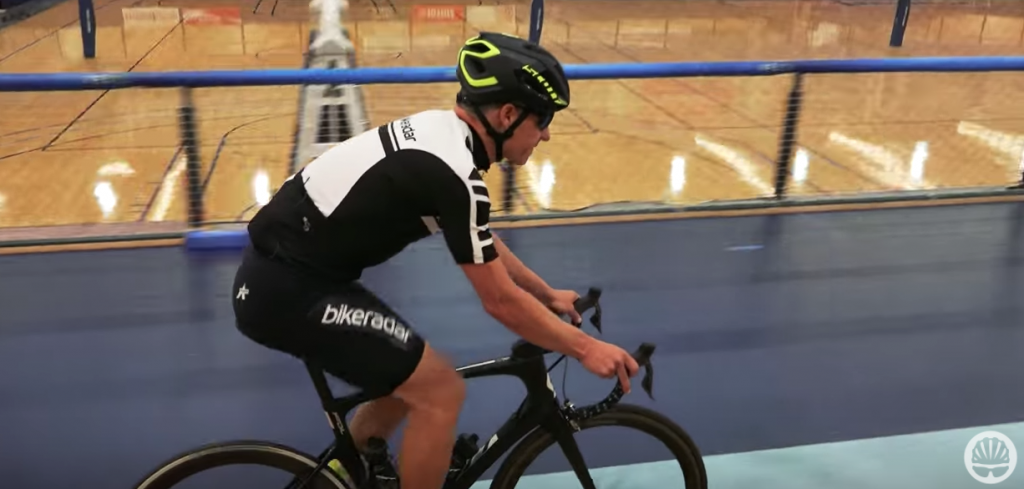
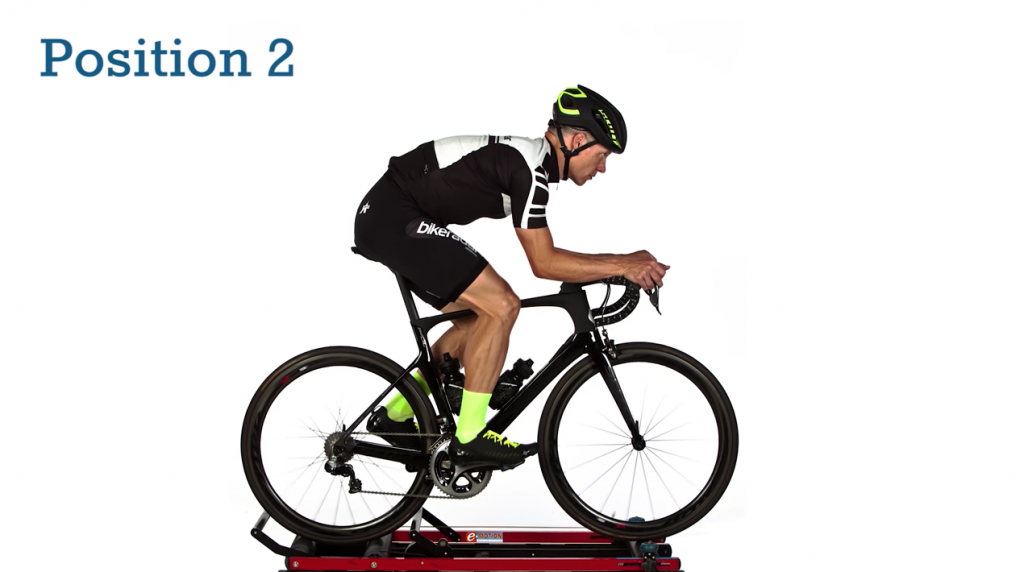
Position 2: Bent arms with hands on the tops.
It lowered his back angle significantly and took his arm angle out of the wind.
Saved an average of 94 Watts which translates to 362 seconds over 40KM at 250 Watt average.
Position 3: Straight arms with hands on drops.
Saved an average of 67 Watts which translates to 214.85 seconds over 40KM at 250 Watt average.
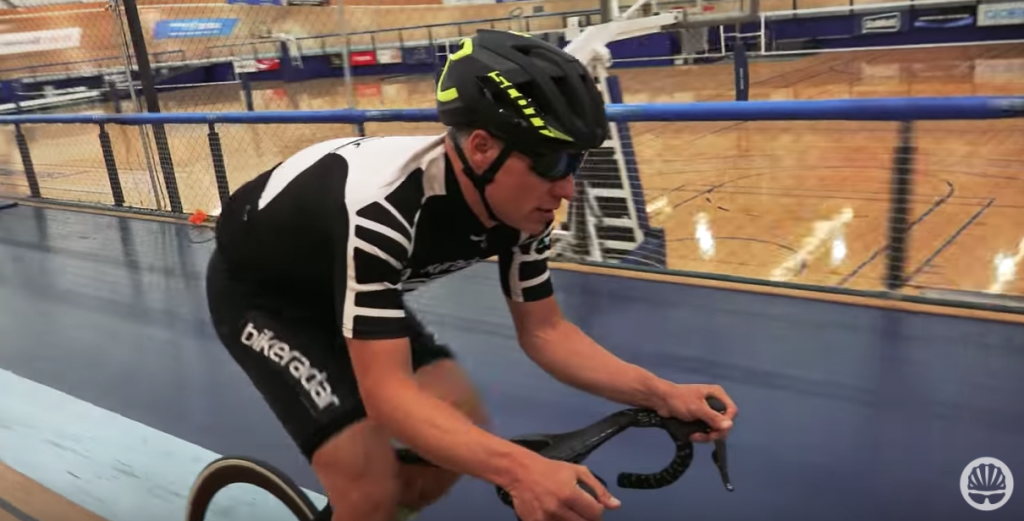
Position 4: Bent arms with hands on the drops.
Saved an average of 112 Watts which translates to 442 seconds over 40KM at 250 Watt average.
However, even though it saved him wattage, he was moving around a lot and it was clear he wasn’t going to be able to stay in that position over 40KMs.

The overall winner?
It turns out that the most efficient position for Ben was Position 2. It saved him slightly less time than position 4, but because it was more sustainable and comfortable, overall his body would be significantly less fatigued holding it over the course of 40 km’s and would give him the greatest gain.
Here’s both BikeRadar and GCN’s videos:
BikeRadar – Finding the perfect cycling position
GCN – Aero challenge. How much time can you save?
One reply on “A look into real world cycling aero gains – Part 2 on Body Position”
If you ever witnessed a rider properly use the Sphinx position on the track, it was a very compelling argument for aero-positioning. It was especially impressive witnessing it from within the field.