
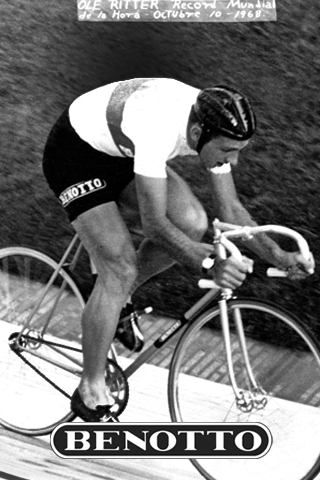
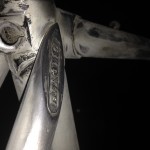
The restoration is coming along nicely. Ordered some NOS Benotto forks and they arrived safely today. The forks are made of Columbus SL tubing, the kind found on Benotto modelo 2500 and 3000. Part 1 and Part 2 of the restoration are here.
Step 1: Sanding (3-4 hrs)
I started with 180 grit sandpaper. Because I had previously sprayed the bike black, I wanted to make sure I got all the old layers of paint off to bare metal.
Next I switched to 200 and then 400 grit sandpaper.
I used 400 grit sandpaper on a drill wheel to clean the brazed areas.
Sanding revealed a really nice metal frame. Almost made me want to clear coat the whole frame.
Step 2: Cleaning (20 min)
I don’t like using water on freshly sanded metal as it creates rust. So I started off with a cotton clothe and wax and grease remover. Went over the frame about 3 or 4 times until the rag came out clean. I wore gloves while doing this to prevent the oil from my hands getting on the bike frame.
Step 3: Taping (5-10 min)
Once the frame was clean I taped the bottom bracket area as I didn’t want the threading painted. I also taped part of the rear dropout.
Step 4: Metal Adhesion and Primer (10 min)
To help the bare metal areas that I will be clear coating I sprayed some metal adhesion promoter first. I will be sanding this again prior to clear coating.
Next I did 2 coats of primer over the frame. When using spray paint shake the spray can really well for about 60-120 seconds.
When spraying hold the can about 8inches away from the area and use smooth sweeping movements. Start the spray before you move over the part to paint and release the spray after completing the pass.
Start with the intricate areas first. I sprayed the bottom bracket, lugs, and dropouts first.
Next I did the frame by sections, spraying with the length of the tubes.
Step 5: Wait 10-15 minutes for the primer to dry (15 min)
Step 6: Second coat (10 min)
Spray the sections of the frame a second time.
Step 8: Go for a long ride (4-8hrs)
I wanted the primer to set well before sanding to get the best finish, so I left it overnight and went for a ride on my Trek.
Step 9: Wet sanding (10 min)
1 day later (tonight) I prepped the frame for the second coat of primer. Once your primer is set, you will want to wet sand the frame. I used 400 grit sandpaper, a bowl of water and a cotton cloth. Keep the sand paper wet at all times while working over the paint. Primer is easy to sand and you don’t need to press too hard.
I used a rounded block to keep the sanding as even as possible.
After wet sanding all the tubes I then sanded the lugs and more detailed areas.
Once everything is smooth and your hand glides easily over the paint, it’s time to prep for the next coat of paint.
Step 9: Clean and prep (5-10 min)
A cotton rag with wax and grease remover works well to clean sanded areas. You want to use a lint free rag. It took about 3 passes for the frame to come clean.
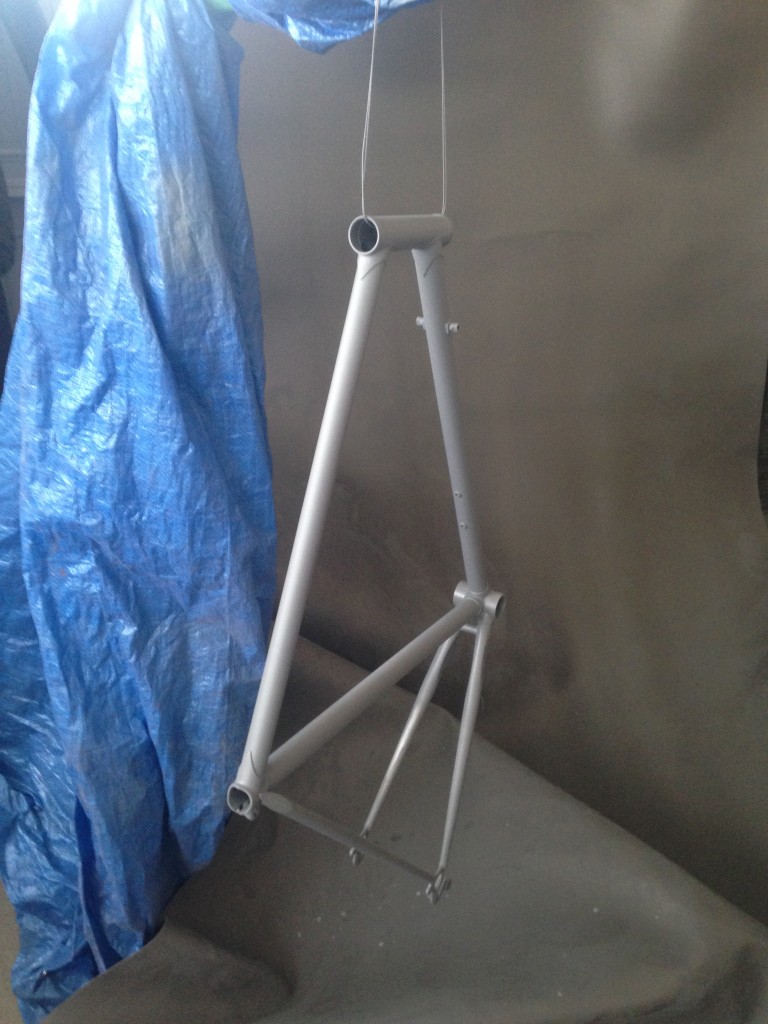
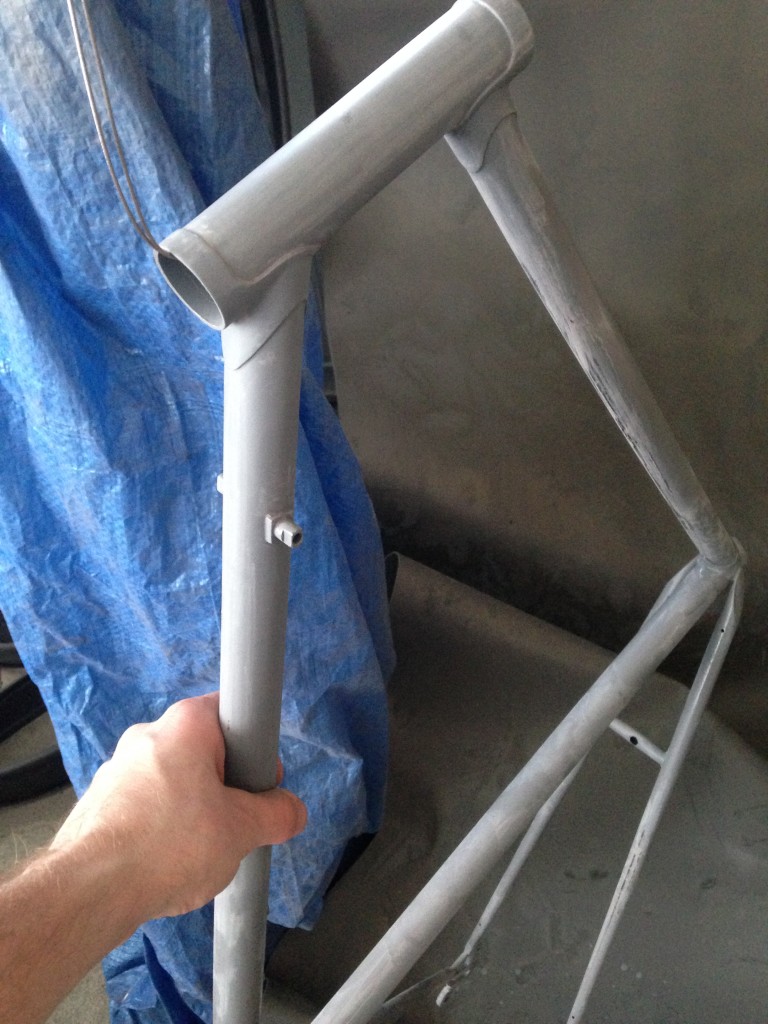
Step 10: Final coat of primer (10 min)
I did one more coat of primer, the same way I did the first one. Starting with the bottom bracket, dropouts and lugs. Next I used smooth sweeping motions to paint the frame tubes as evenly as possible.
Step 11:
Next you are ready for the base coat, I haven’t got the paint yet, so I will need to wait for the next step. I plan on sanding one more time prior to the base coat. It’s not necessary… but hey it’s a classic.
Part 2: Identifying the frame (sorta.. it’s a work in progress)
 You can see the original gold/champagne colour remained hidden beneath some of the parts.
 Sanding begun. You can see Benotto’s signature heart cutout.
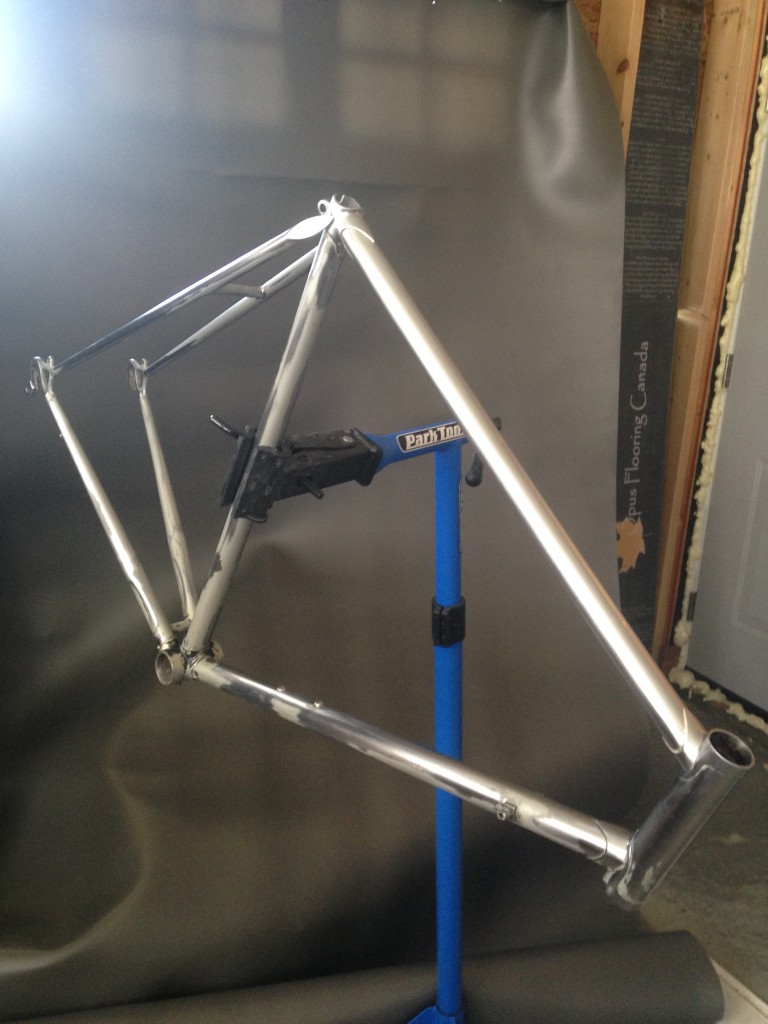
 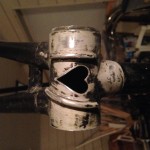 The quality of a Benotto bicycle can be seen everywhere. Here are the cast rear wheel dropouts.
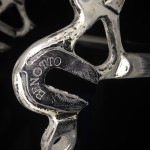
 Then tragedy strikes. I accidentally broke one of the cable guides on the top tube with my bike stand’s clamp. Was hoping to braze it back in place, but it’s broken into 3 pieces. Not sure what I will do. Might grind off all the cable guides and replace them with new ones. Or I use the old fashioned cable guides. Will see what comes to mind tomorrow.