Categories
Adventure Honda CB550 On Machines On Motorcycles On Motorcycles

Honda CB 550 Motorcycle Build

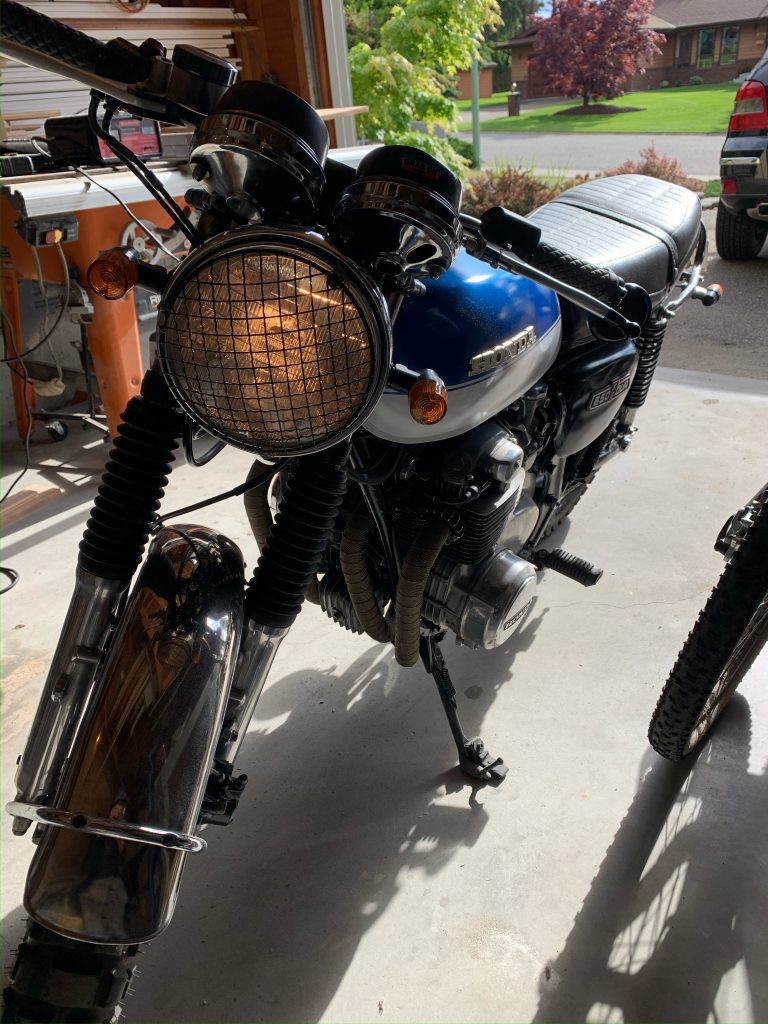
In 2019 I purchased a Honda CB550 motorcycle. The year on the front plate is 1974. Which happens to be the first year the CB550 was introduced.

Honda had raced the 500cc in the World Grand Prix. But in 1969 the FIM introduced new rules (including weight minimums, a maximum number of cylinders and a maximum of six speeds). Honda walked out. And didn’t declare their return until 1977.

Soichiro Honda, the founder of Honda, loved racing and the progress in technology that resulted. The 500cc was the creme de la creme of GP racing at the time. But, having departed the GP, Honda was left without a production 500cc engine to advance. Surprise surprise, the following year Honda released the CB500 in 1971.

Honda spent a lot of focus on the 500 engine, releasing the CB550 in 1974, which replaced the outgoing CB500 with a larger displacement, faster acceleration, and the ability to mount dual front disc brakes. This may have been surprising to the motorcycling world. But Yoshimura, who lead Honda’s 500cc engineering return to the GP, joined Honda in 1972. Remarked, he was tasked, “to create something that would represent the very best in technology. We were determined to create an engine to surprise the whole world.”

Then in 1979 Honda debuted in the Grand Prix with a new 500cc engine. While 2 stroke engines were by now considered an advantage on the racing circuit, “Nonetheless, Honda wanted an engine that displayed a level of originality that fitted in with the business principles laid out by its founding father. The result was an engine unlike anything ever seen before in the racing world—a high-revving four-stroke, four-cylinder unit, with unique oval-shaped pistons that gave the visual impression of a V8.” [Honda]

The CB 500 and CB 550 are part of this story. The build:

I had purchased a 1982 Honda CB750 in 2013. But after a house reno and an undiagnosed electrical problem, the bike remained a non-runner 5 years later. So when I saw a running CB550 project bike for sale in the classifieds, I jumped on the opportunity.

Viewing the bike for the second time. It was frozen solid on my first viewing, so was inside to thaw

But it wasn’t without its issues. As I would soon discover.

Job 1: Clean the bike

It was covered with wax, dirt and everything in between. It was used in a film and the set crew had gone to town with it. Turned out to be a much bigger task than expected. And really the bike needed a total respray.

Job 2: It was running rich. So my first mechanical job was to sort that out.

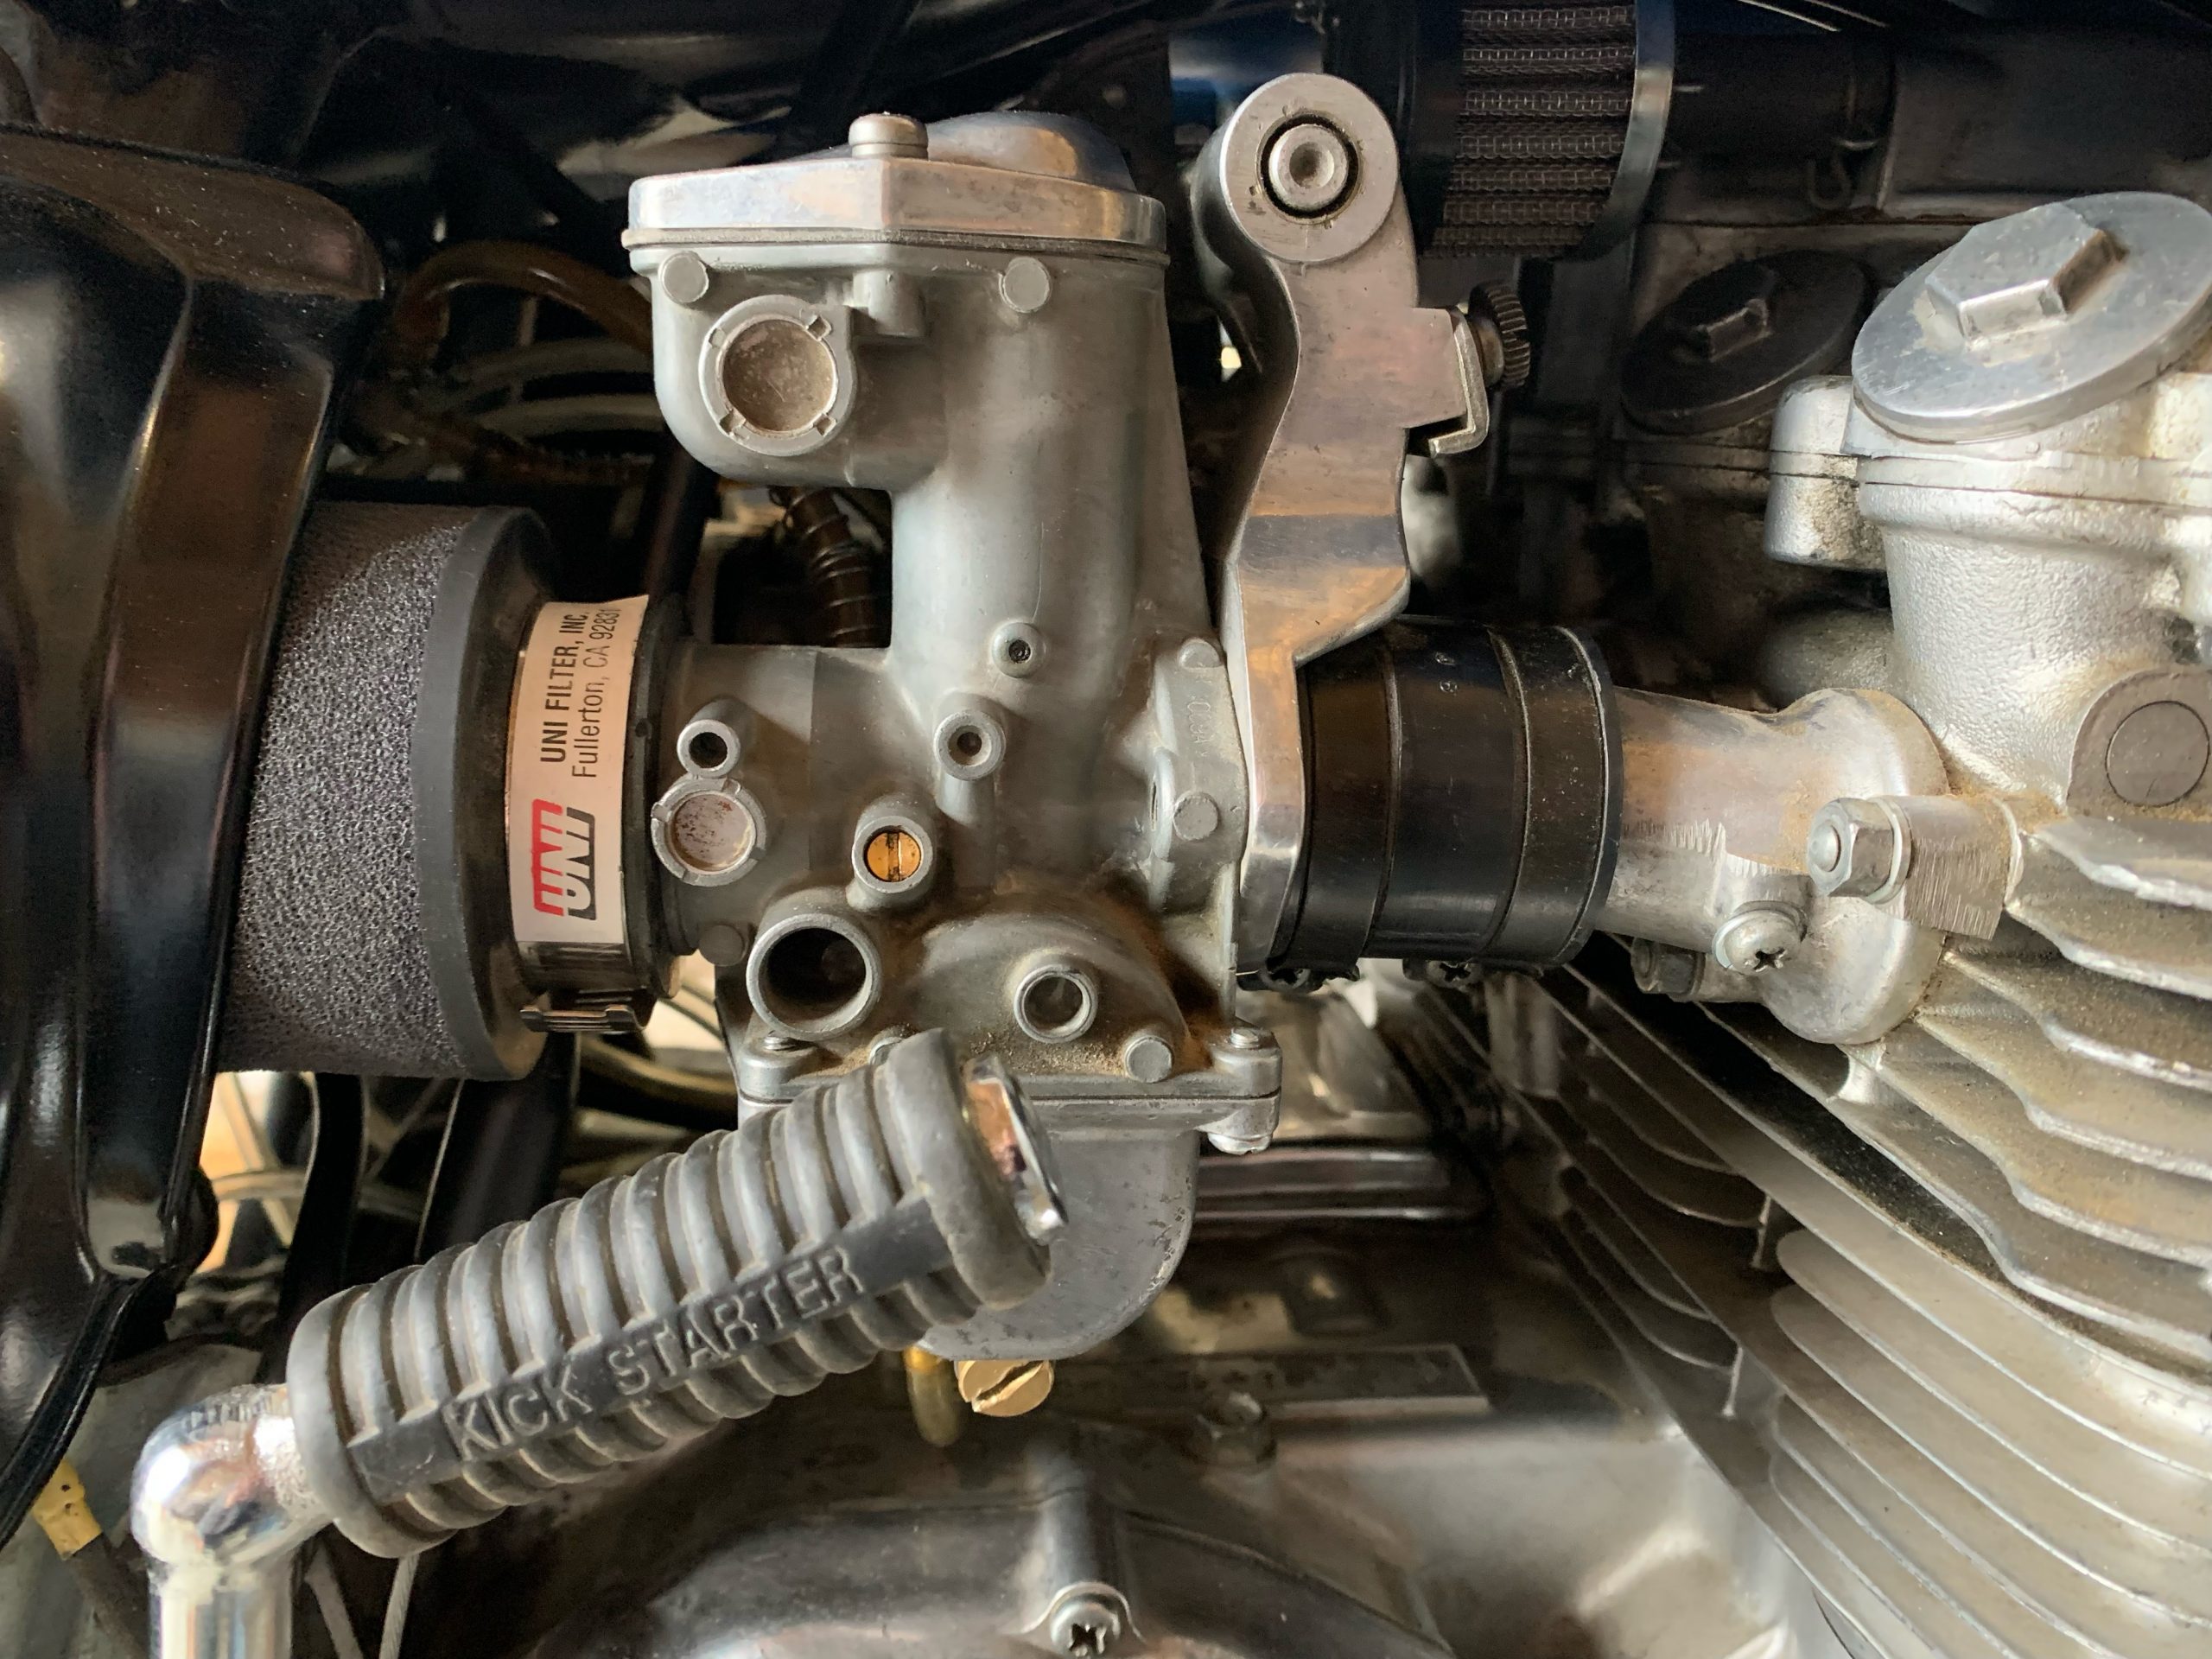
I wrote a full post about tuning the carburetors over here.

Turns out that it was actually running lean with one cylinder running very rich. This was not the last I would see of these carbs.

Carburetors disassembled to clean and rebuild

Job 3: Deal with bondo cracks in the gas tank

I sanded the bondo to remove the cracked filler. Originally I was going to simply fill the holes, but the more I sanded the more damage was revealed.

Initial sanding of the filler

I took it to Bill a man gifted at paintless dent repair. He did an amazing job with the tank. So good that I was tempted to keep the tank metal and clear coat it. I may still do this in the future.

Return from Bill’s with a dent free tank

Job 4: Rebuild the forks

The front forks were rusted. So I decided to remove them to restore them and give them a full rebuild at the same time.

Unrestored front forks

After removing the rust and polishing them, I dissembled and cleaned the inner workings. The oil that came out of these forks was the most foul smelling stuff of legend.

Disassembled front forks off the CB550

I ordered new gaitors and reassembled.

Job 5: Respray the frame

The frame had been painted silver. Then over sprayed flat black, then sanded back to the silver. It needed respraying.

We were getting ready to move homes, so rather than doing an engine out powder coating, I purchased good quality caliper paint from Lordco and sprayed the frame in place. (I plan on doing a proper frame restoration down the road).

First step is to clean the frame from all oil, wax and grease. Use a good wax and grease remover. Step 2 is to sand the entire area you are painting. Remove any loose chips (this bike had many) and sand smooth. Step 3 is to wipe clean of dust. Step 4. Prime. Step 5. Apply your coat.

Frame looking fresh after the respray

My wife and I then went to the ski hill for a few days.

Job 6: Sell my old 1982 Honda CB750 bike.

There was a lineup of people wanting to buy it. Ended up meeting a really cool guy who rebuilt bikes. And he picked it up in his mini van. Hilarious.

Making bike friends
There’s a first for everything. CB750 loaded in a minivan.

Job 7: Rebuild the brakes

I had to replace the brake fluid cylinder, lever and all brake lines. Also replaced the brake pads. Topped up the brake fluid. I did learn a lesson. I mistakenly pulled the brake lever while testing it with the disc out. That was a fun job opening the brake again. With the wheel in, the brake adjusted we were good to go.

I don’t have many photos of this job. I did purchase the mounting kit and a second caliper and disc to convert the front wheel to a dual disc at the same time. Which I will post about when I do the conversion in the near future.

Measuring all gaps prior to rebuilding and cleaning the front brakes.

My bro and I then headed to Facebook’s F8 developer conference in San Jose California.

Job 8: Paint the tank

While the tank was painted maroon for the movie, the insurance papers for the bike shows the original color as blue. So rather than inviting an inspection when reinsuring it. I opted to paint the tank blue again.

Painting is fairly straight forward. Sand everything smooth. Fill any holes/scratches. Clean it with a wax and grease remove. Wipe clean with a lint free rag. Prime. Sand. Clean. Prime again. Sand again with a 400 grit wet sand paper. Clean. I used spray paint to spray the tank with the top coat. Be sure to spray it in a shady and dust free area. Flash drying in heat and direct sun causes cracks. Painting after the rain is a good time as it clears pollen. Do 3 coats of top coat. Light at first. The final coat makes everything smooth. Sand with 800 grit wet sand paper if desired. Clear coat.

Painting the tank outside.

Other jobs

Oil change, new spark plugs, new battery (twice), timing, tightened the cam chain, set valve clearances, synced the carbs, wrapped the exhaust, and replaced/installed missing or broken components (such as the tachometer, seat lock, ignition, you name it).

I wrote a complete guide on how to tune your CB550 for pods here.

(Oh and I moved in the middle of this build)

Syncing carbs on the 4-stroke CB550

The bike is not showroom perfect, it has a ton of character, and rather than making everything like new, I’ve kept the original side emblems as they were, and the engine fins, which are chipped, are now clean, but not polished, as it tells the story. And honestly, I love it.

Build complete

I road the bike to my dad’s place to show him. He got real quiet. I was wondering why… Then he shared how he road an early 70 Honda CB250 bike very similar to this when my mom was pregnant. Coincidentally it had a blue and white tank, almost identical to the one on this bike. I knew none of this.

Categories
On Machines On Motorcycles Resource

Tuning a Honda CB550 carburetor with pods

Here’s how I tuned my 1974 Honda CB550 motorcycle with pods.

My bike came with pods when I purchased it. I will share the full story in another post for those who are interested. And here’s the post on the build. But in short, the choke didn’t work. The carburetor was a mess. One of the carb cylinders was bent and jammed with a missing needle. Some cylinders were beyond repair. Glue was in the carbs. And it was leaking fuel. If I can make this bike run well with pods, anyone can make their bike run nice.

Step 1: Clean and rebuild the carbs.

I disassembled and cleaned every nook and cranny of the carbs. It’s an easier job than you may expect. I had 4 sets of containers. 1 for each carb. And took notes and photos as I went. And noted the number of turns each screw was set to. Which made it very easy to reassemble everything.

Step 2. New spark plugs

Step 3: Tension cam chain

Step 4: Set valve clearance

Step 5: Set timing

Step 6: Vacuum sync carbs
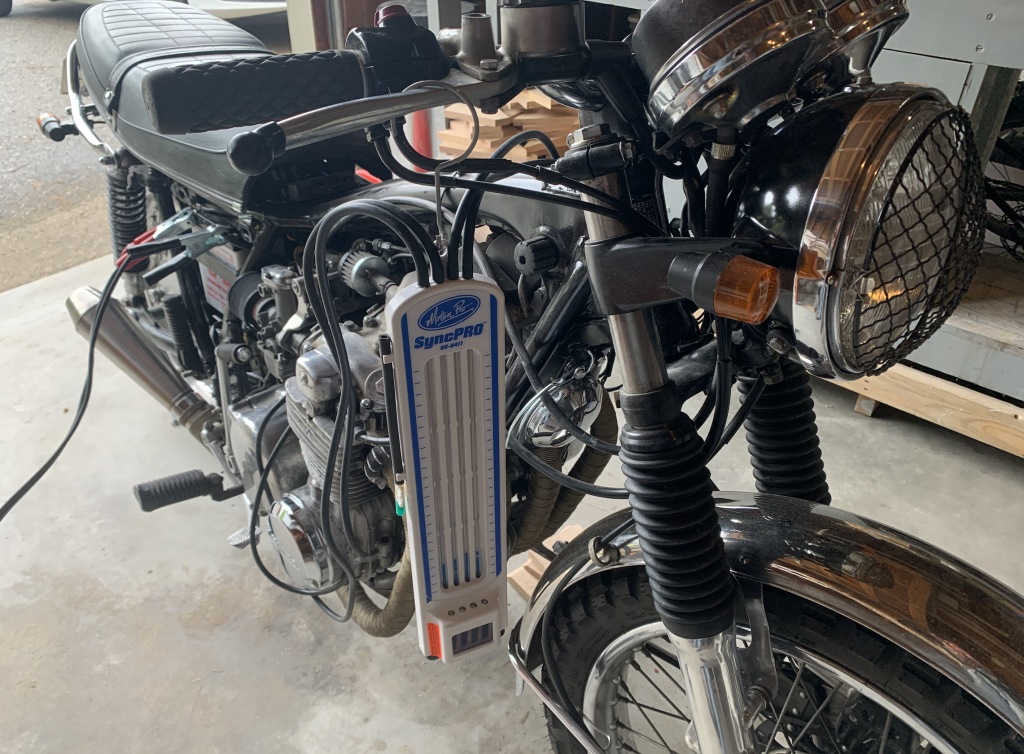
Vacuum Syncing Carbs
Vacuum Syncing Carbs on CB 550

When that is done. You are ready to tune the carbs for your pods.

Here’s the settings that are working for me

Set the carb bowl float heights to the stock 22mm

Size 115 main jets. For reference, I live at 1150ft elevation.

Size 42 slow jets (pilot jet)

Raise the sliding needle by moving the clip to the second lowest position. (Opens the needle)

Fuel/air mixture screw is set at 3/4 turns out. Stock is 2 turns out.

Here’s the settings explained

I set the carb bowl float height to the stock height to stop fuel overflowing. And to get a baseline across all carbs.

The main jets effects the amount of fuel you have at the top end. It was running lean. So upping to 115 solved that.

The slow jets effects the low end and idle. If it’s too rich at the low end you need a smaller slow jet. And vice versa.

The sliding needle effects the middle range of power. The more raised the needle the more fuel is being pulled from the main jet in the carbs. I have 4 into 1 pipes with a small muffler. Which increases the air flow. (Again it’s what the bike came with). By raising the needle the bike gets a richer mixture. Solving the “bog” feeling (too lean) when opening the throttle. If you’re sputtering and sluggish when opening the throttle (meaning too rich), then you will want to lower the needle. Another way of checking. If you hold your throttle at mid point and revs climb and run away, that’s lean. If your revs dip or sputter, that’s lean.

The fuel/air mixture screw was the final adjustment I needed to do. It fine tunes the throttle responsiveness and the idle on the low end. To find the setting that is right for you, warm up the engine, then give a bit of throttle and let the revs settle down. Adjust the screws 1/4 turn at a time. Turning the screw clockwise (inwards) enriches the mixture. Outwards leans the mixture. Blip the throttle and let the revs settle down after each adjustment. If it takes too long to settle down to idle then it’s too lean. If you hear backfiring then it’s too lean. If it sputters with throttle or dips below ideal idling (or just die) when settling down, then it’s too rich. Make adjustments to the screws accordingly. When you get the sound you’re happy with (Not lean, not too rich) that’s your spot. Make a note of how many turns you’ve set it to, so you can remember later.

Troubleshooting

If bike is running too lean/rich at idle to 15% throttle? It’s your pilot jet.

If bike is running too lean/rich at the top end? Hearing tinging, clanging, or overheating at full throttle? It’s your main jet.

If bike is sputtering/dying or bogging when giving a little throttle (20-70% throttle). It’s your main needle height.

If bike is backfiring. Adjust your fuel mixture screw.

Final note. Always err on the side of being too rich. A lean condition can be the kiss of death for a motor.

Thanks for checking this out. It’s been an enjoyable and rewarding project.