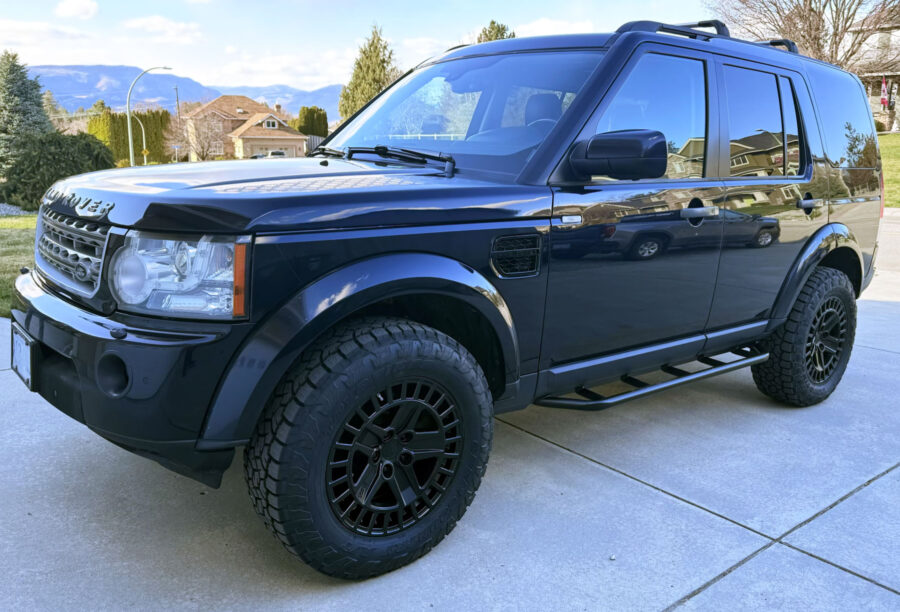
My Land Rover LR4 came with machined 5 spoke 20 inch wheels. But I like to venture the trails. So I began a search for…
Category: Resource
Is a timing chain tensioner failure preventable?
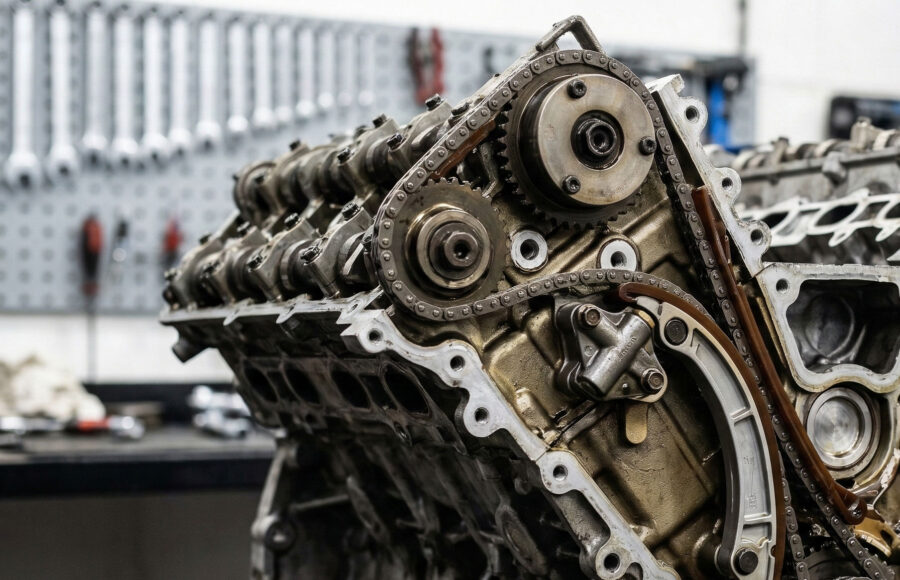
There’s this deep sense of satisfaction that comes from repairing, rather than replacing. And if one can prevent the need for a repair, even better.…
Early 1980s Ishiwata Bicycle Tubing

I have a 1982 Bianchi made using Ishiwata Magny. However, there isn’t a lot of information on Ishiwata framesets. So I thought I would share…
Honda CB 550 Motorcycle Build
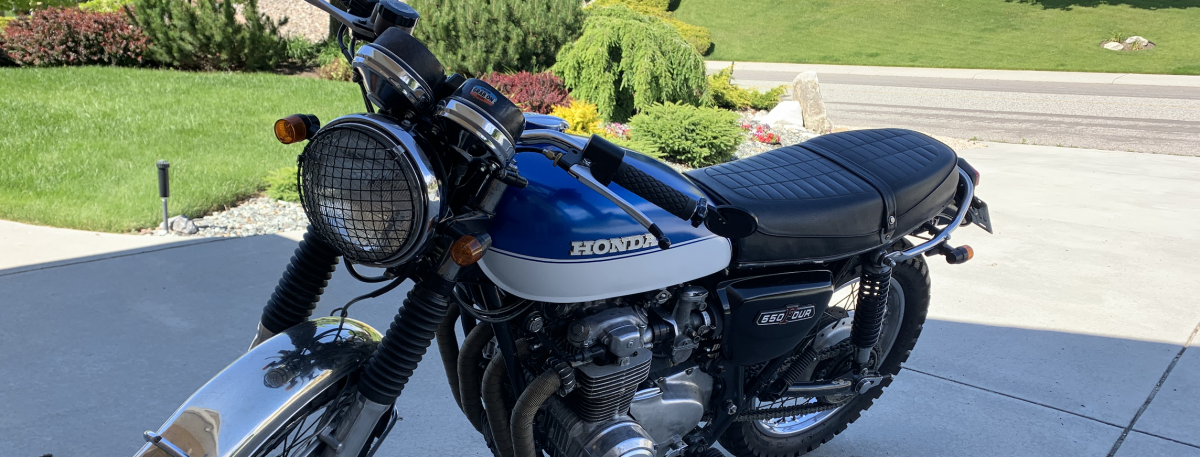
In 2019 I purchased a Honda CB550 motorcycle. The year on the front plate is 1974. Which happens to be the first year the CB550…
Tuning a Honda CB550 carburetor with pods
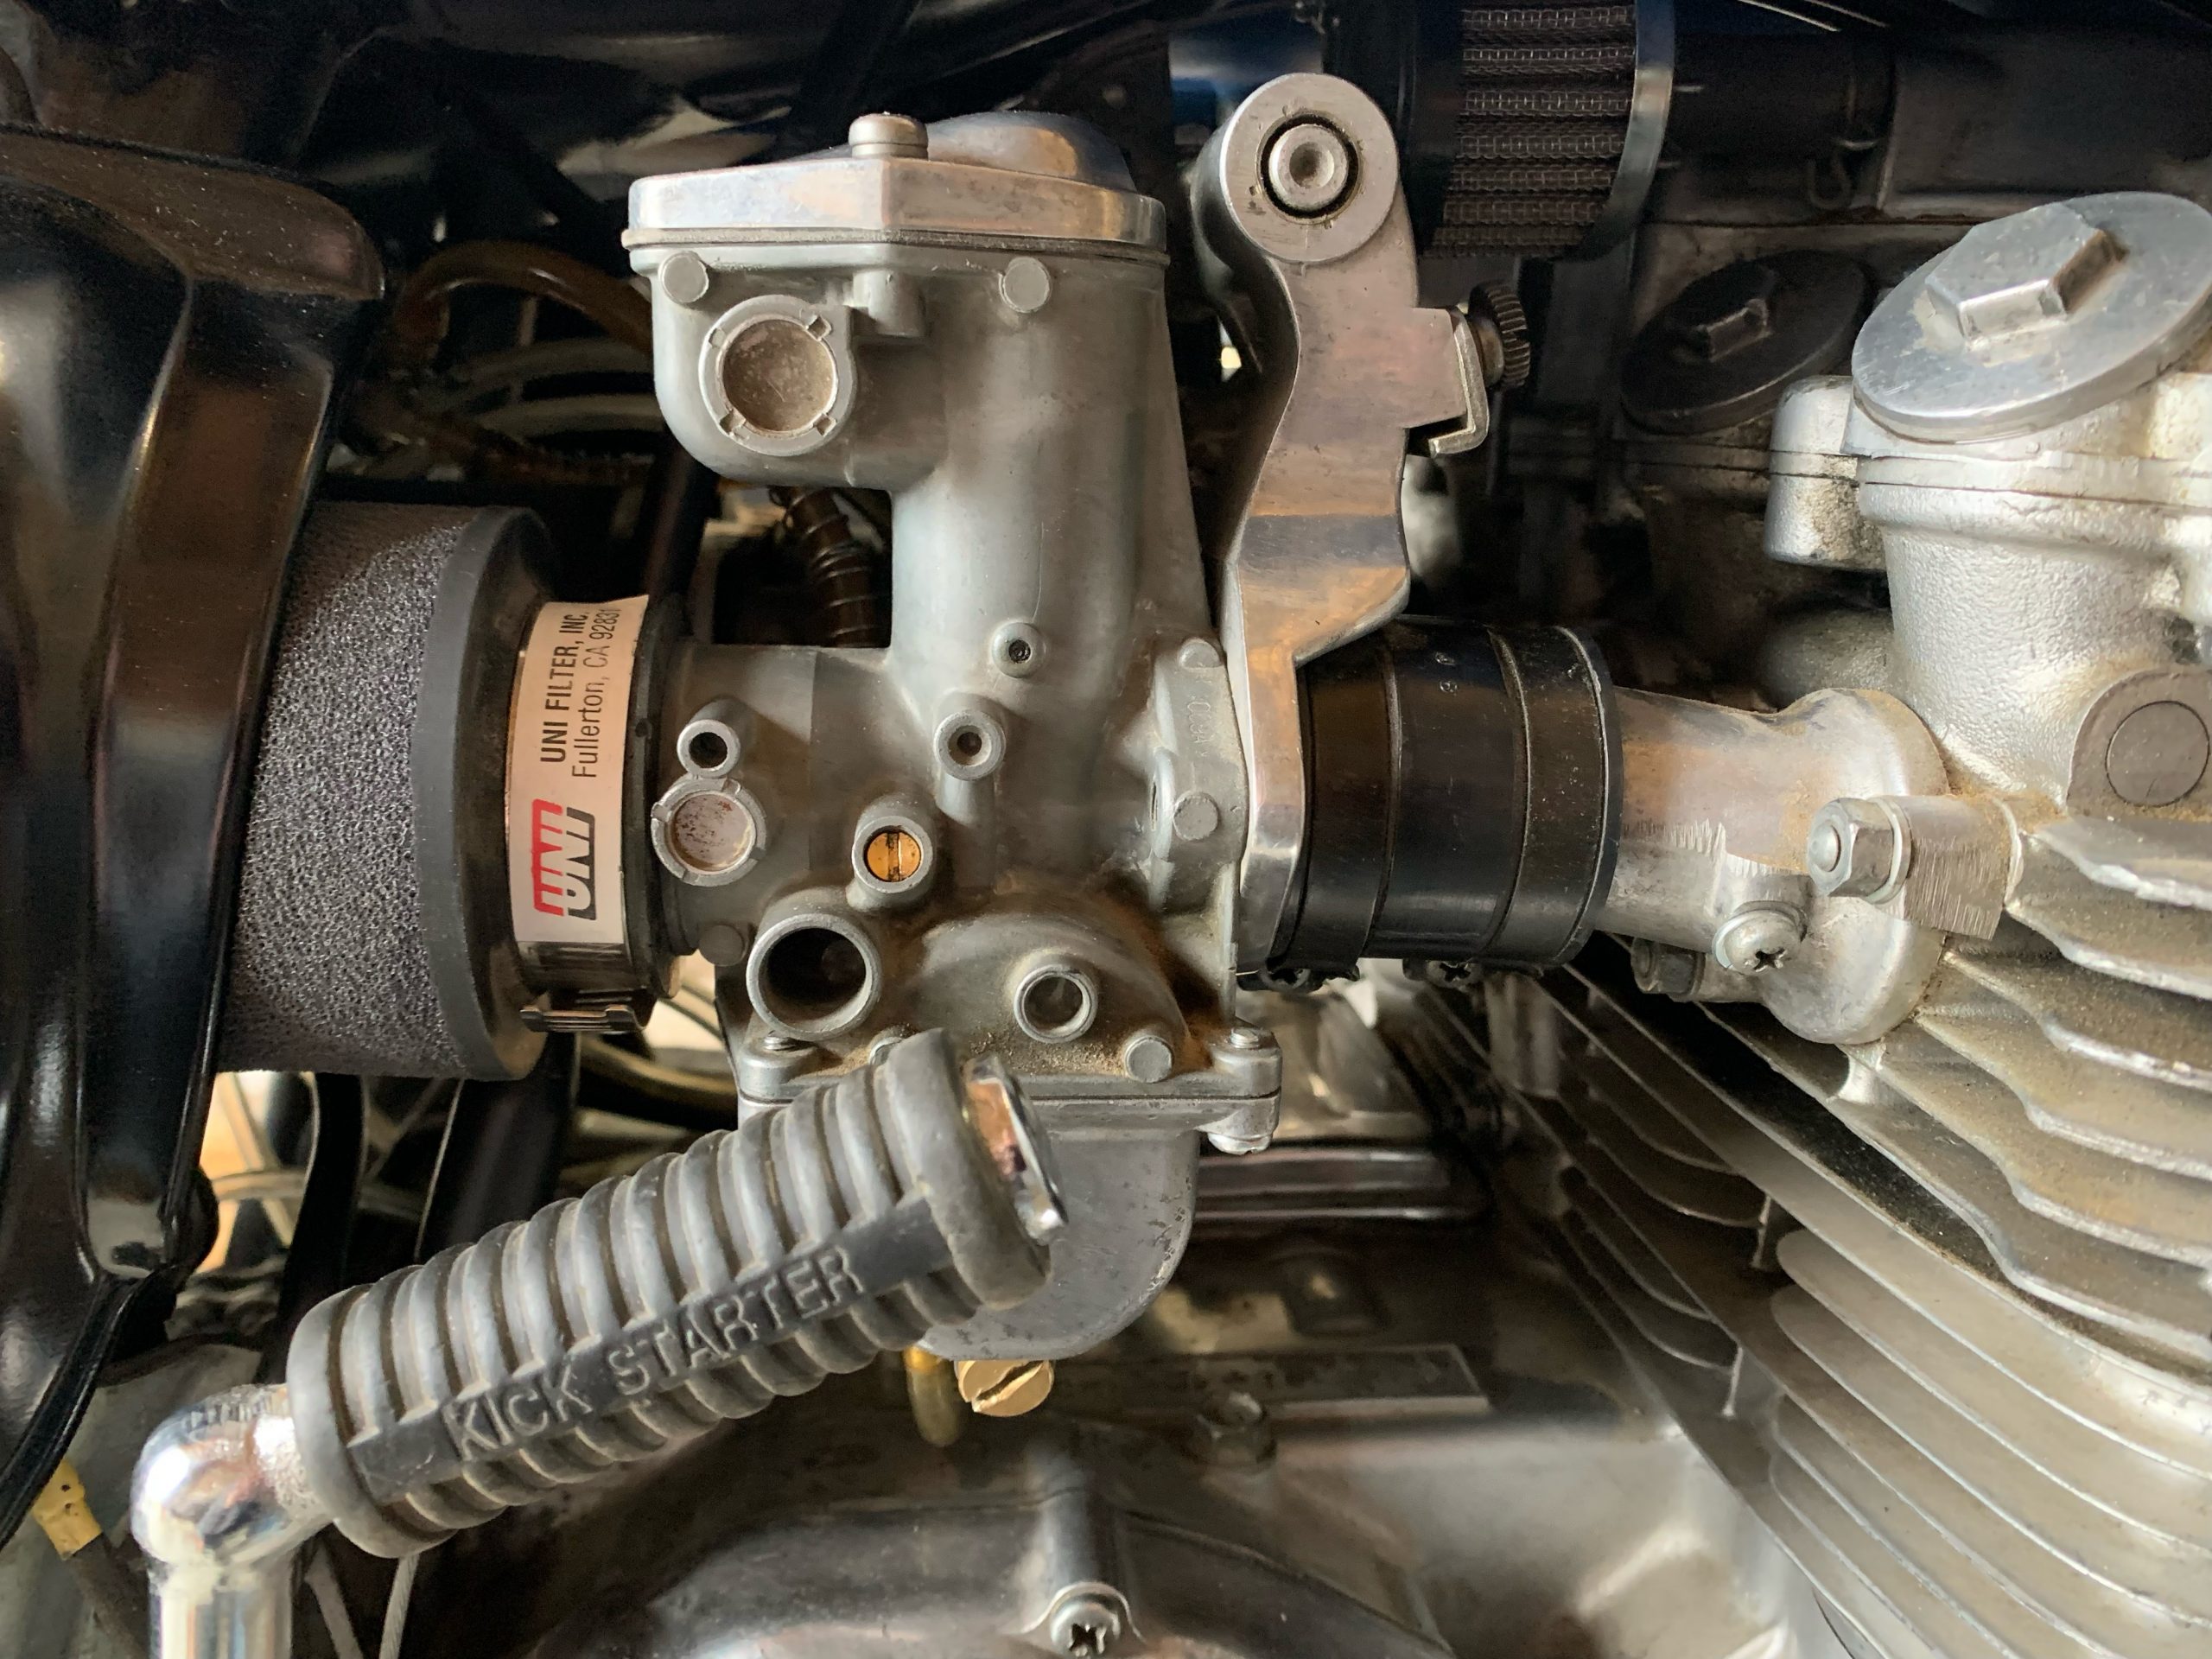
Here’s how I tuned my 1974 Honda CB550 motorcycle with pods. My bike came with pods when I purchased it. I will share the full…
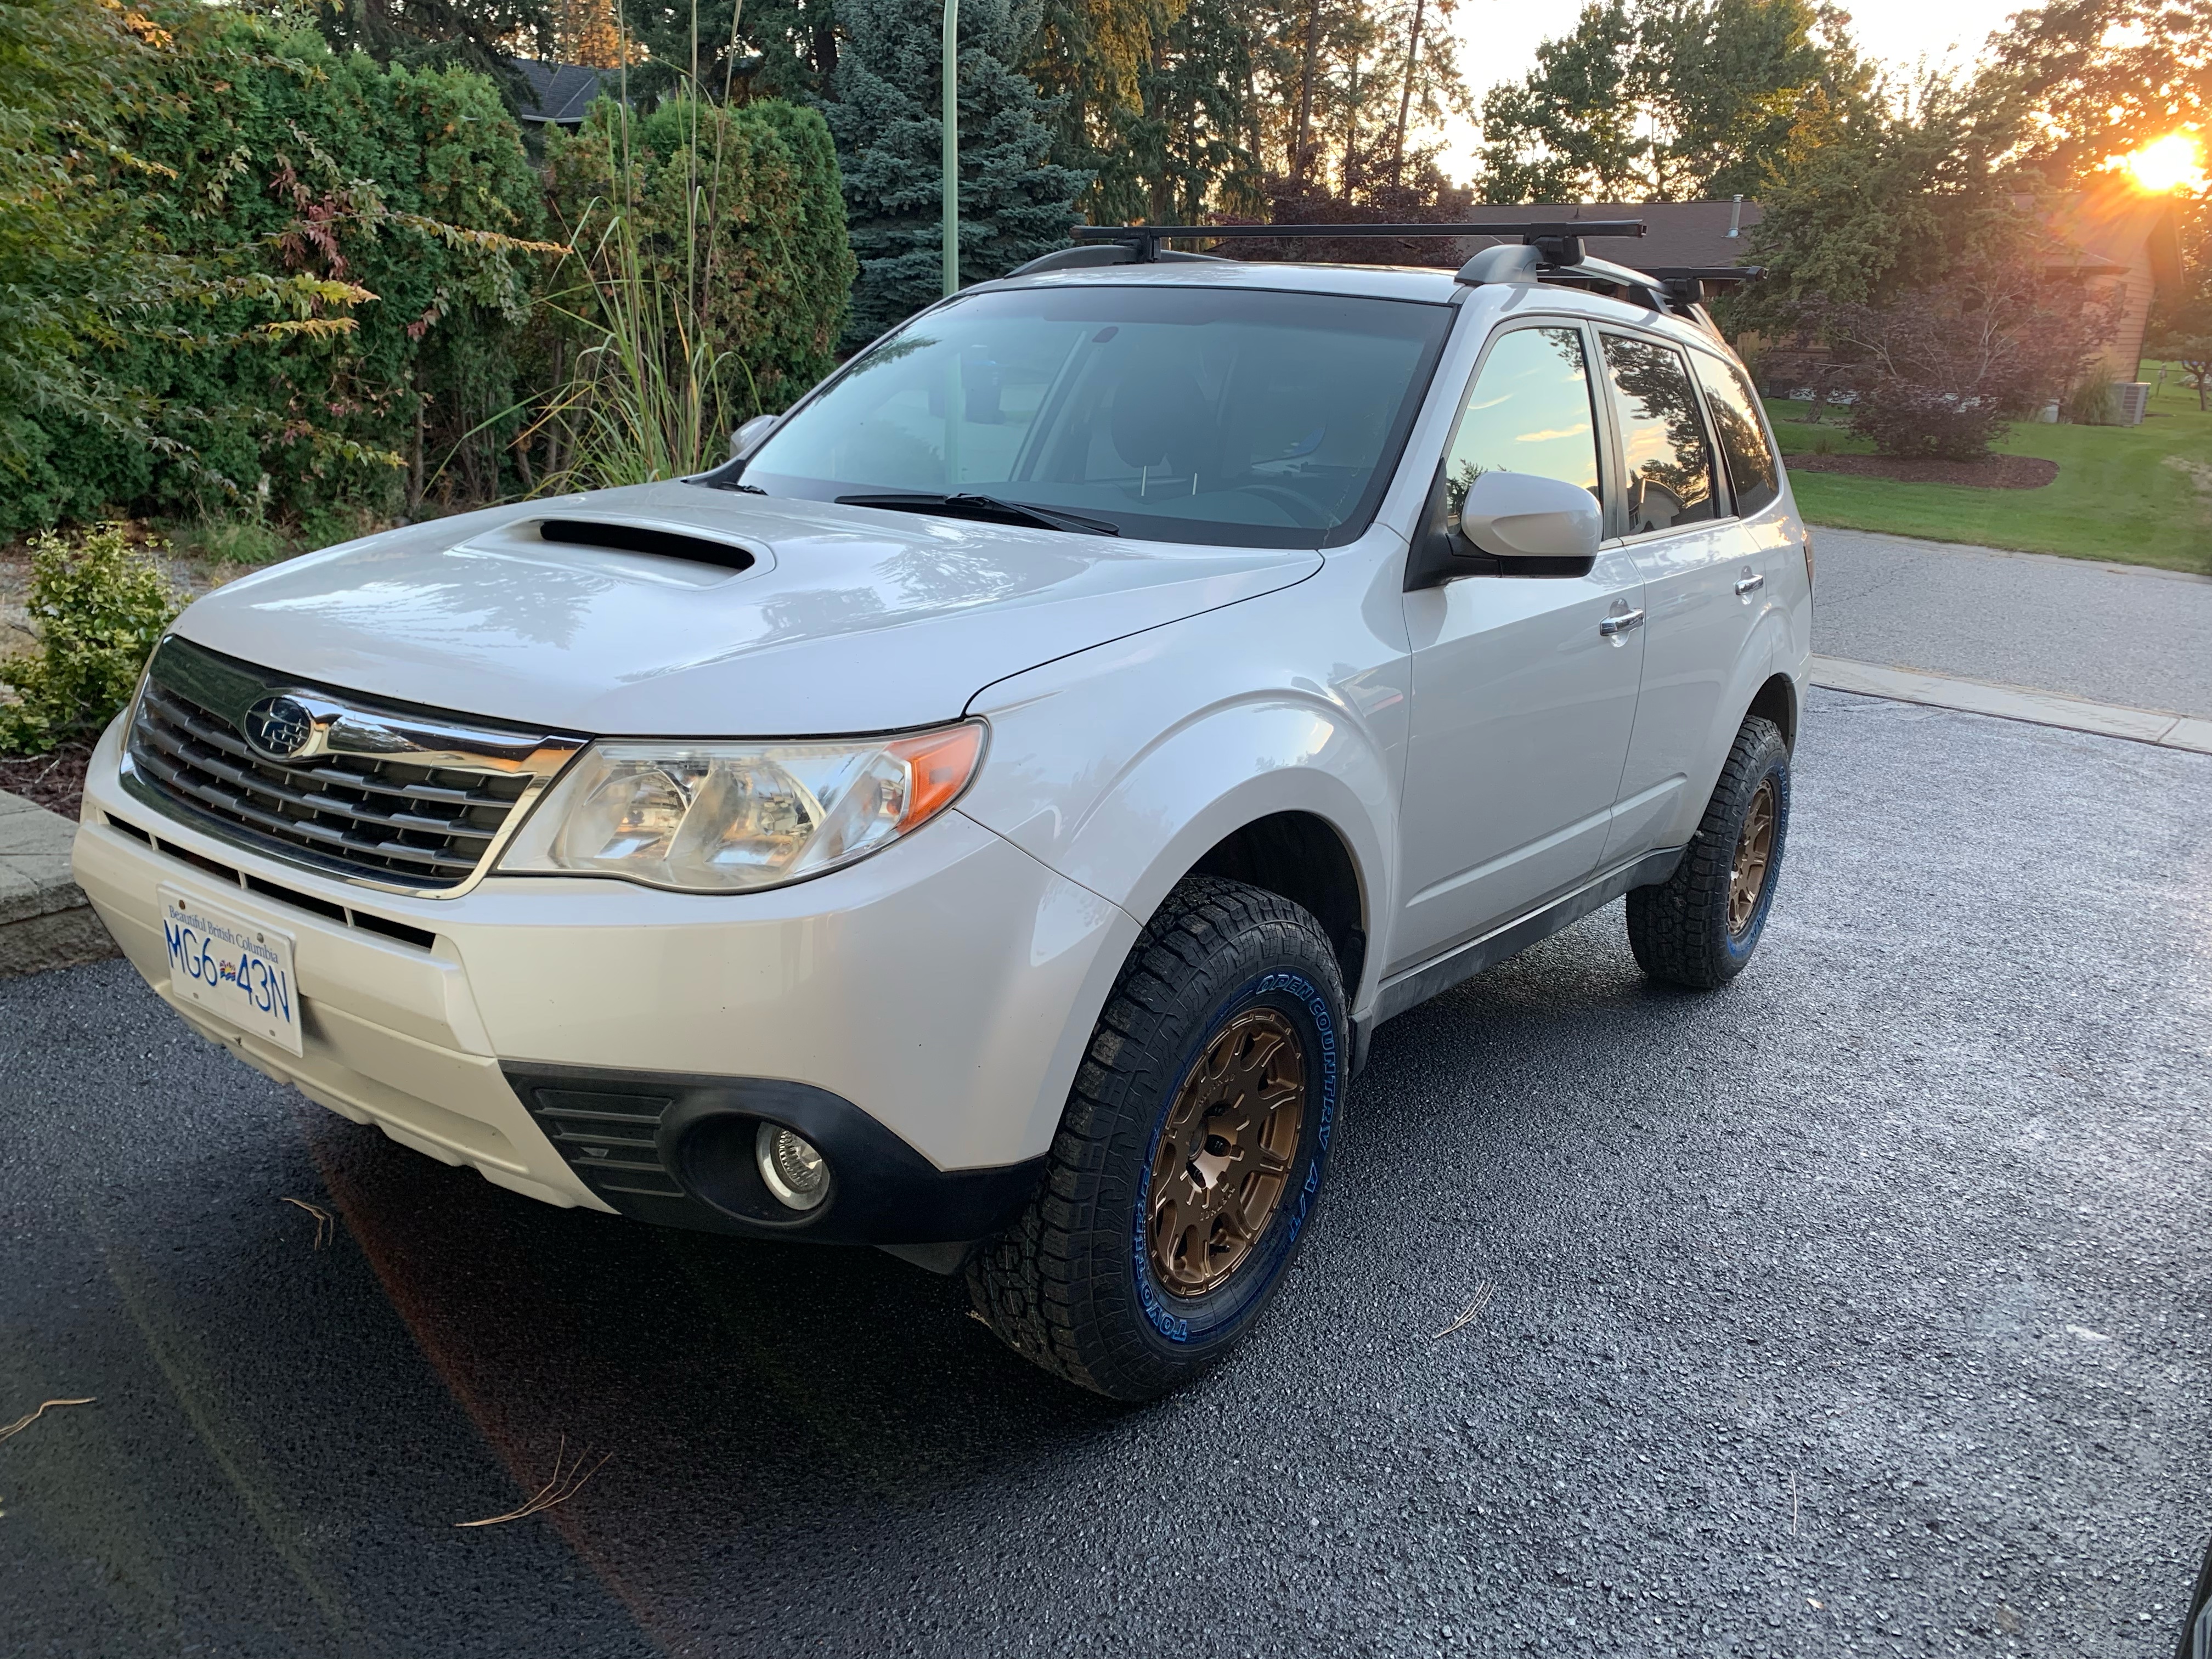
Do 29 inch wheels fit a 2009-2013 Subaru Forester? 265 70R15
Sadly, no they do not… stock. The largest wheel that will fit a 2009-2013 Subaru Forester is 28″ in diameter. If you own a 2014…
Installing Flatout Suspension on a 2009-2013 Subaru Forester SH
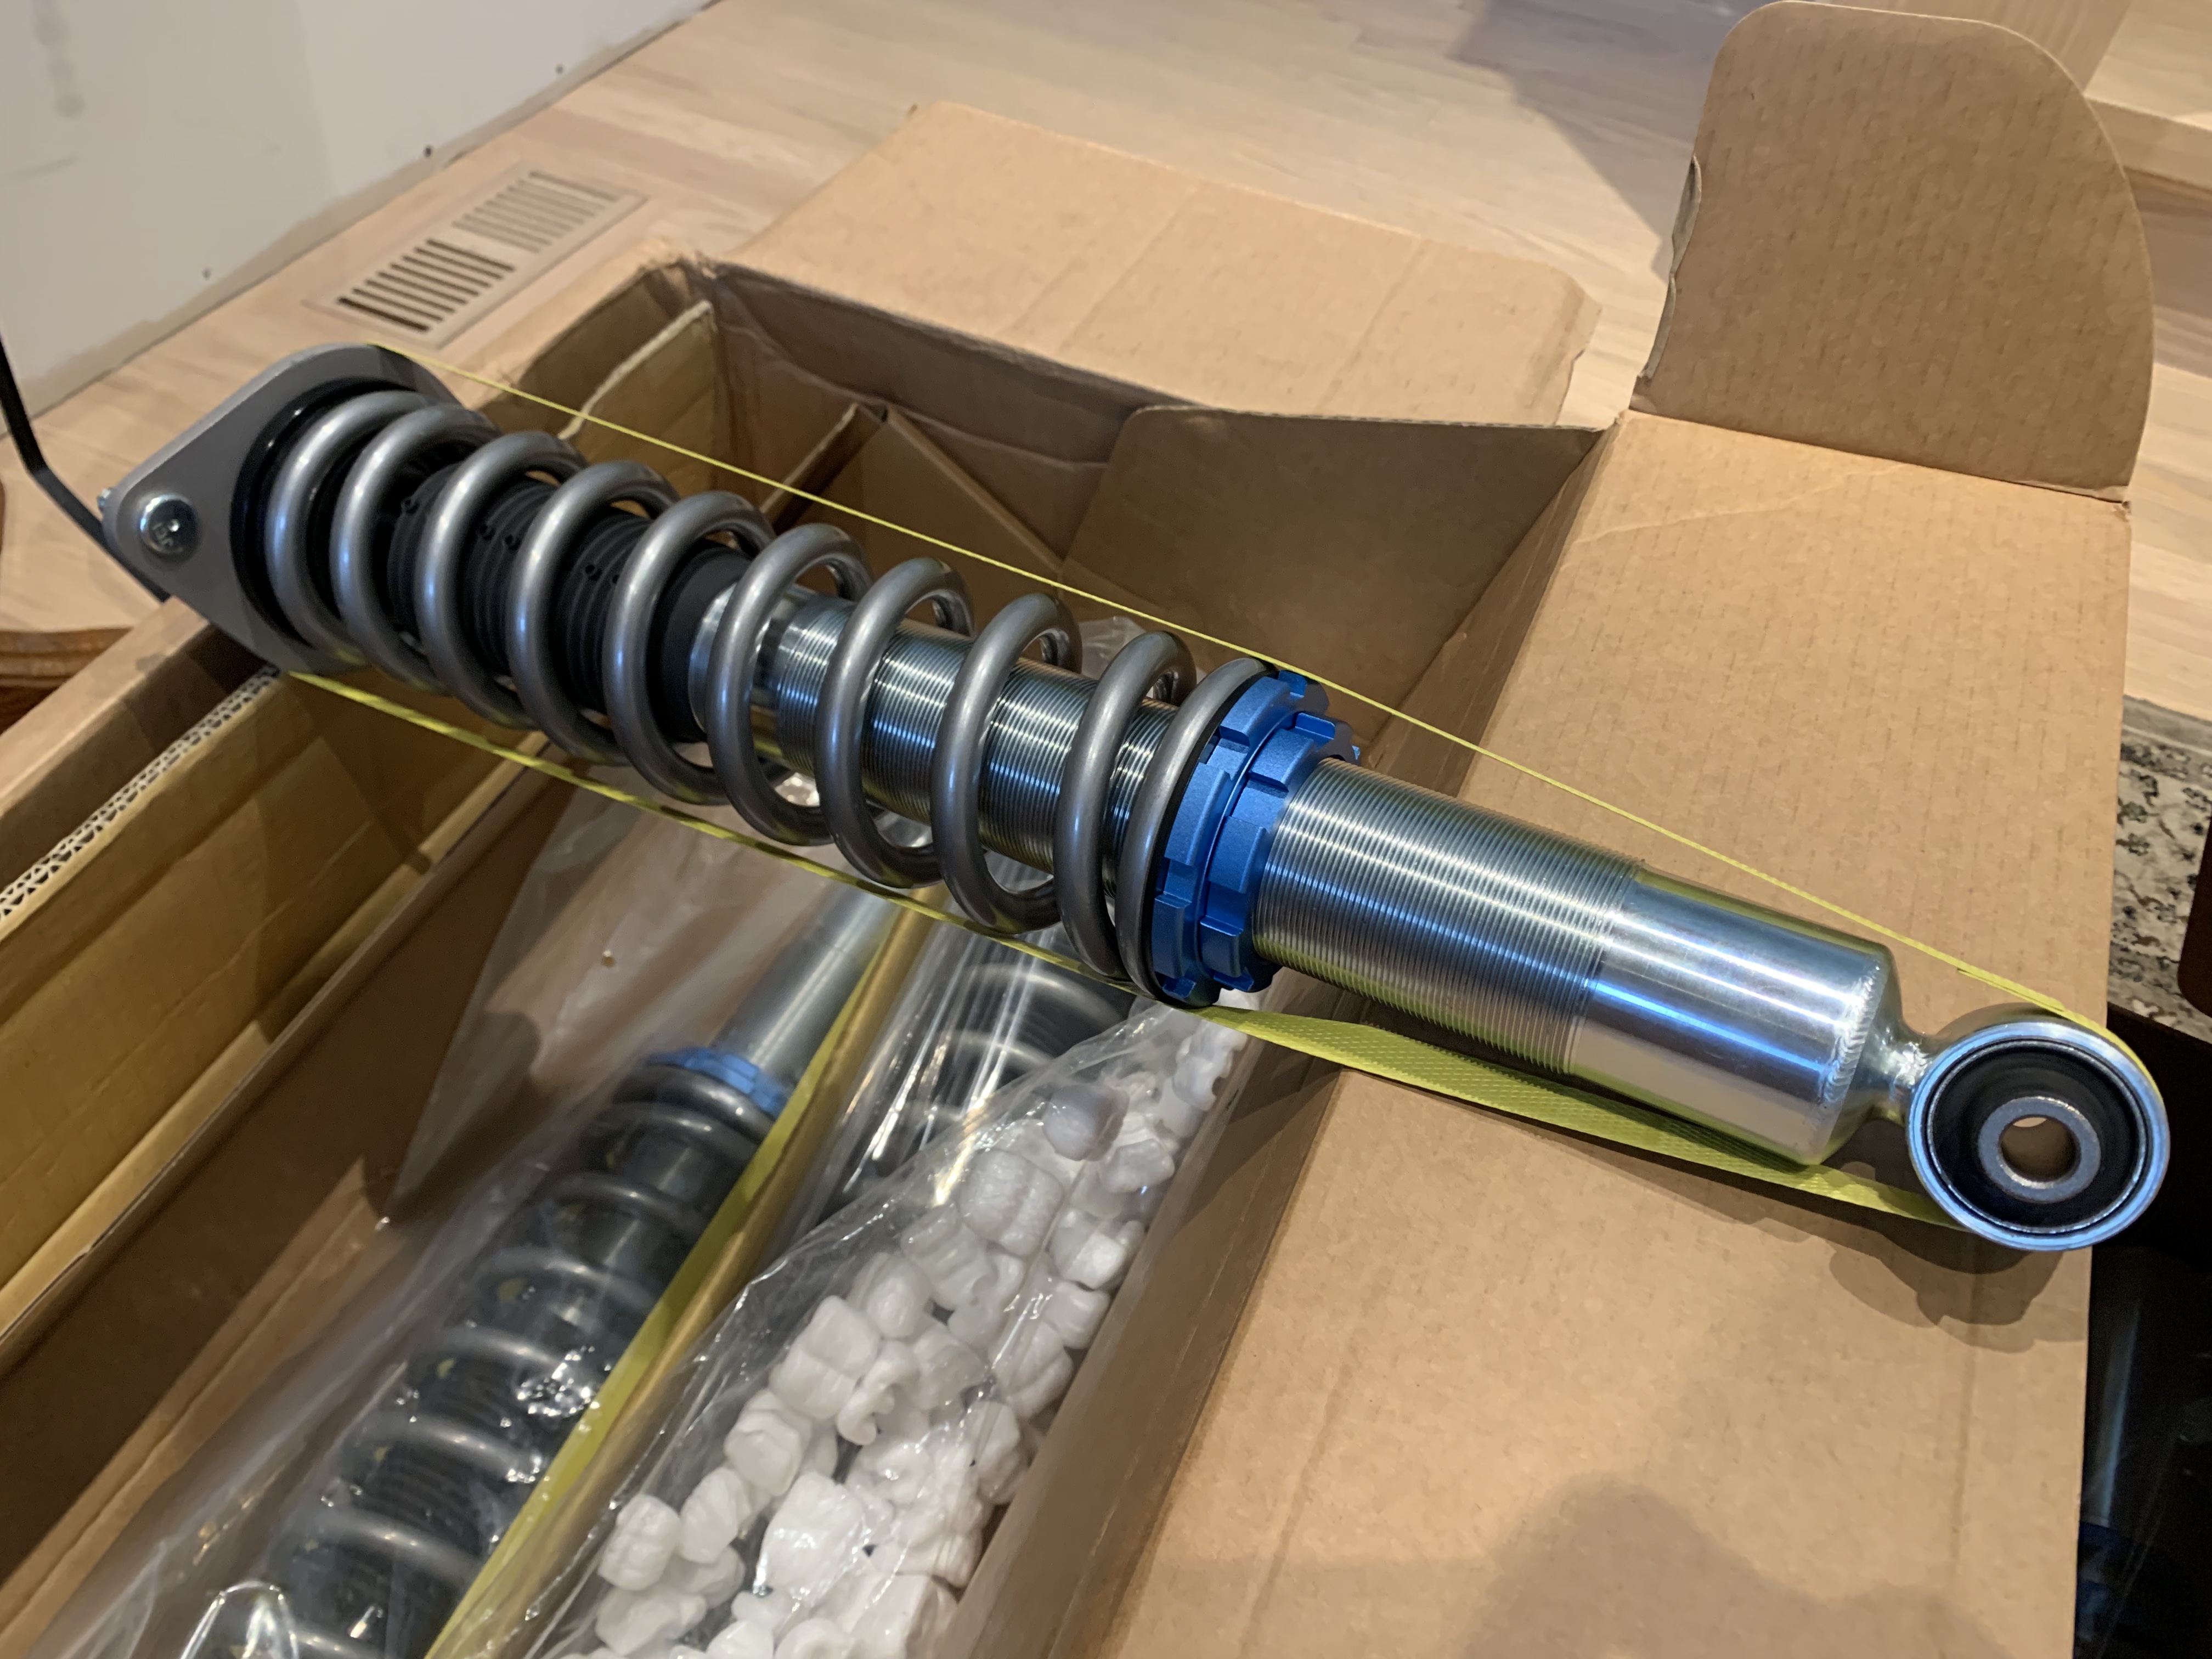
Flatout Suspension GR Lite
This past weekend I installed the Flatout Suspension’s GR-Lite coil overs and Rallitek spacers. They arrived packaged in the box. There were a couple things…
Do 15 inch Method 502 wheels fit a 2009-2013 Subaru Forester 2.5XT?
Yes! The 09-13 Subaru Forester 2.5XT has bigger front brakes than the non-turbo Forester. So I was unsure if they would fit. Method’s website say…
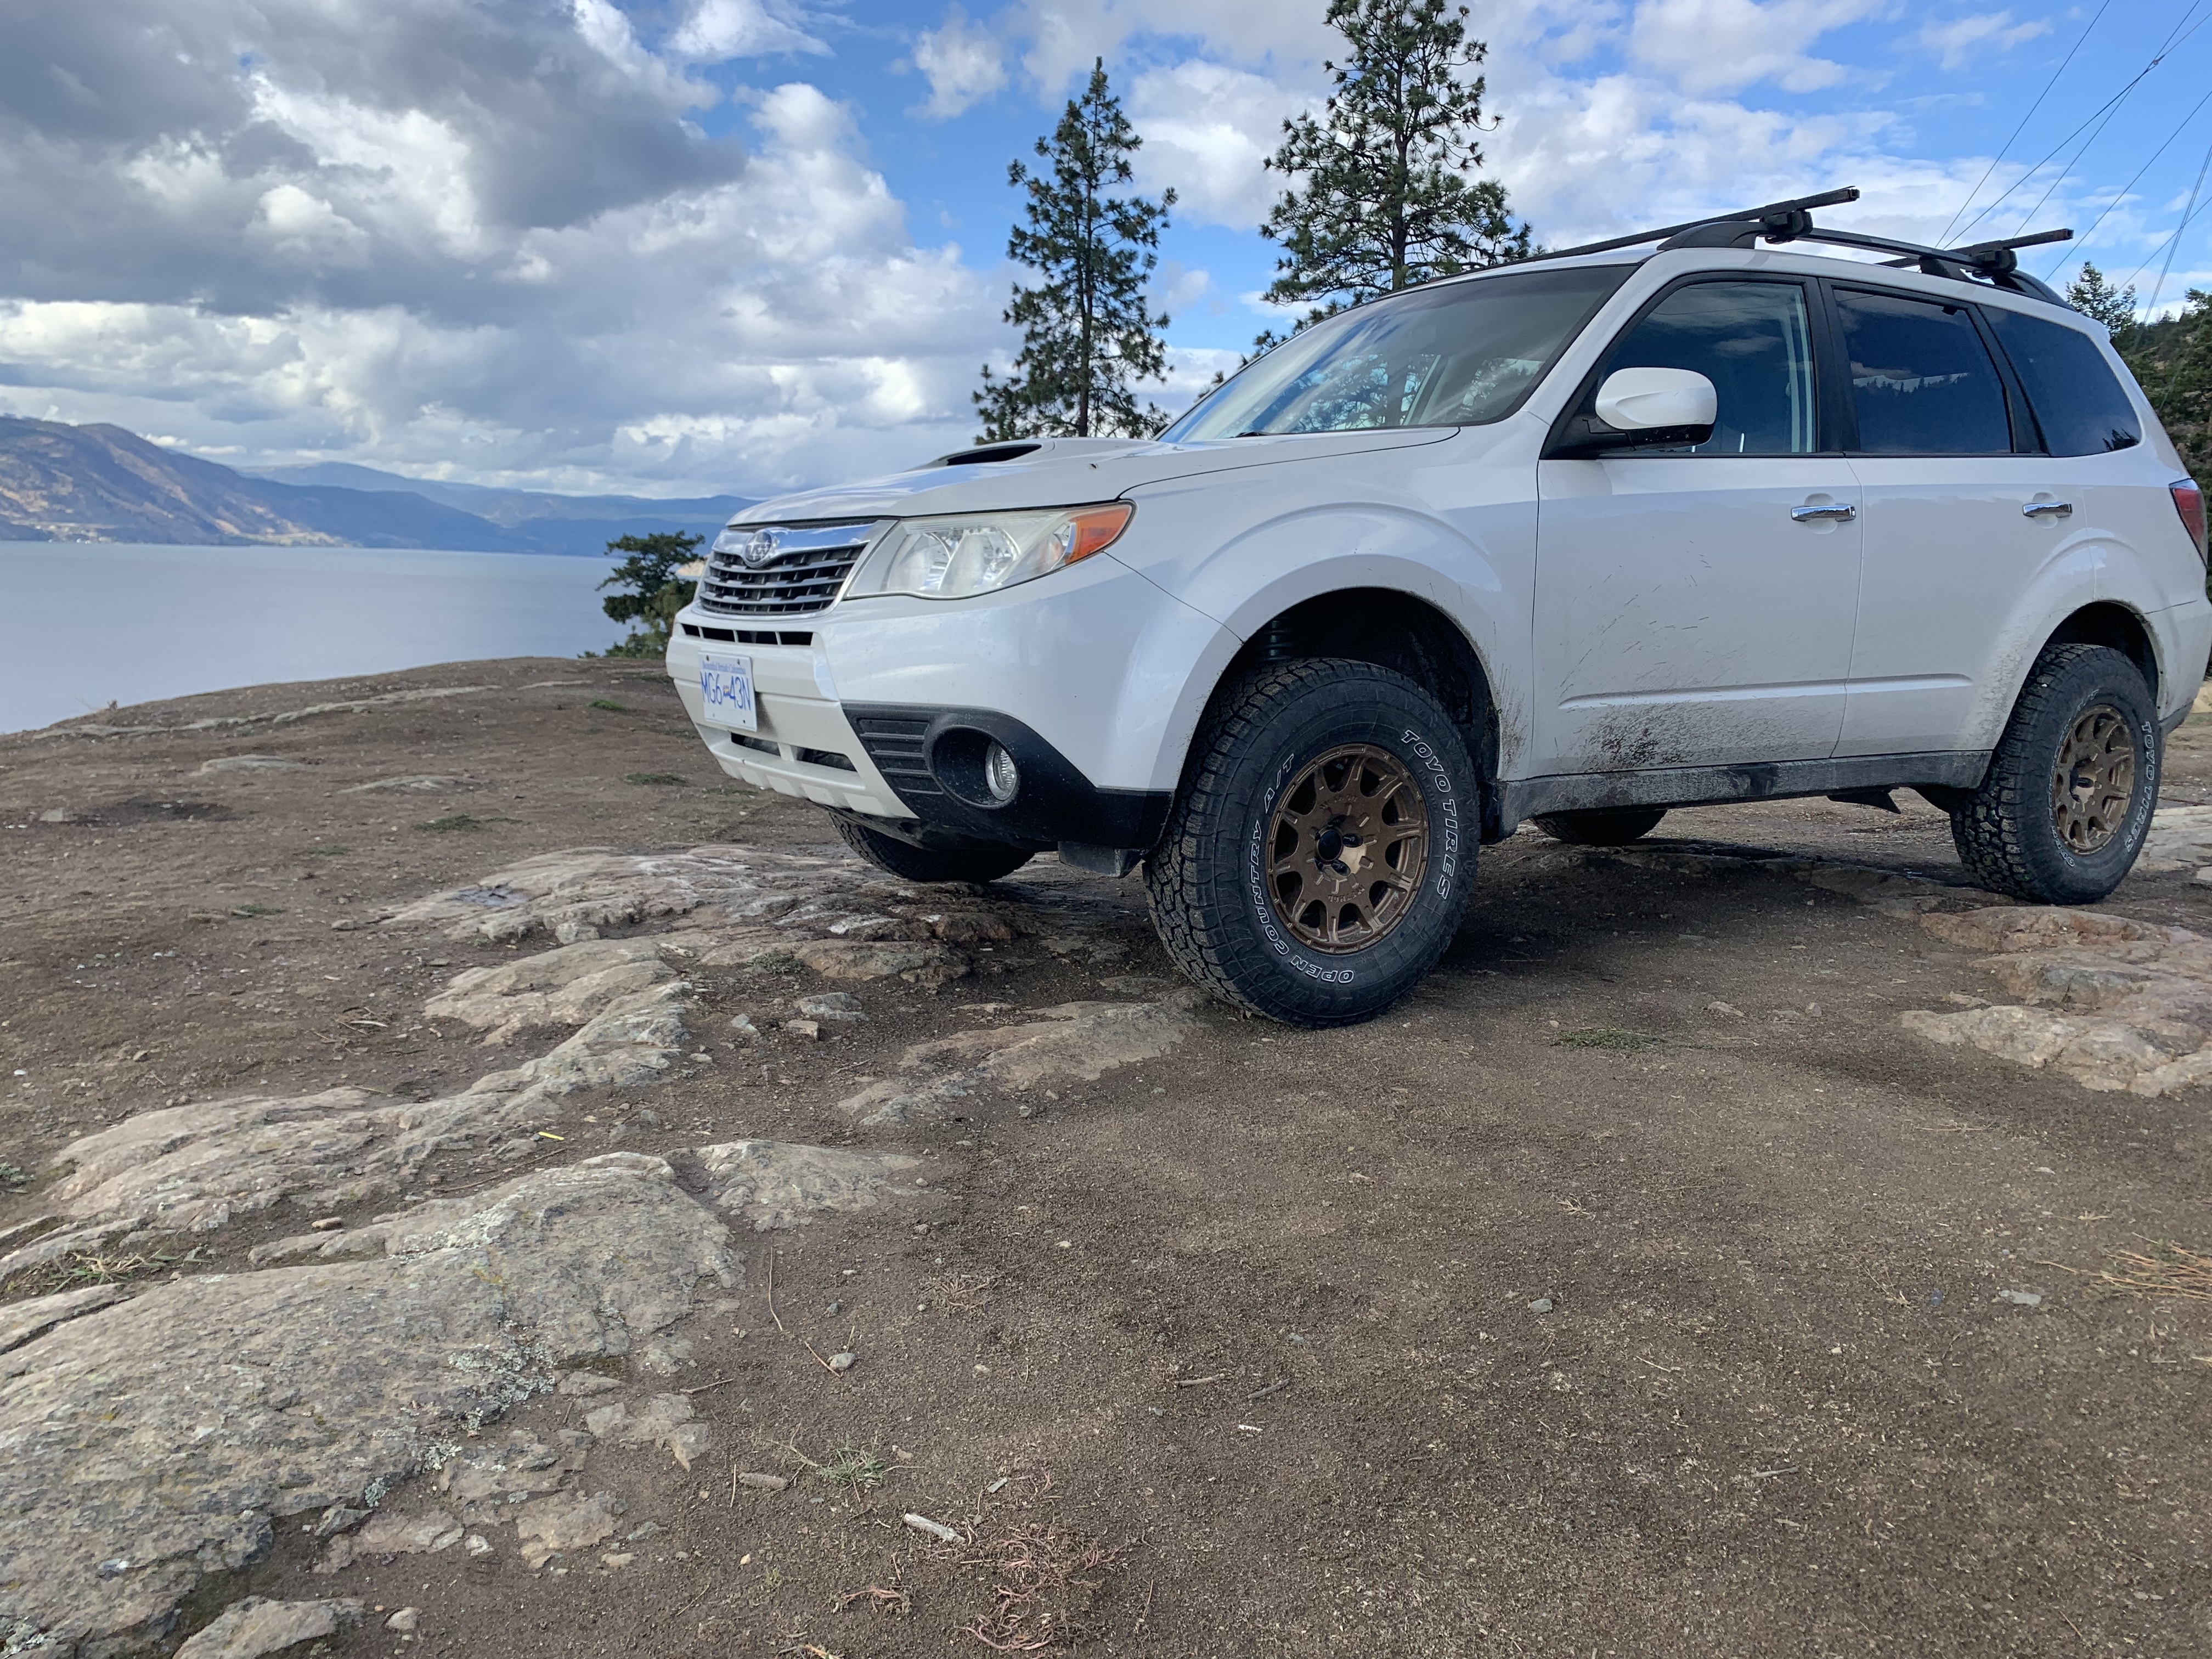
09-13 Subaru Forester XT – The start of an adventure vehicle
I’d been considering setting up an adventure vehicle to access the backcountry roads for ski touring. A 2009 Subaru Forester 2.5XT sat stored at our…
How to train for a Granfondo in 2 months
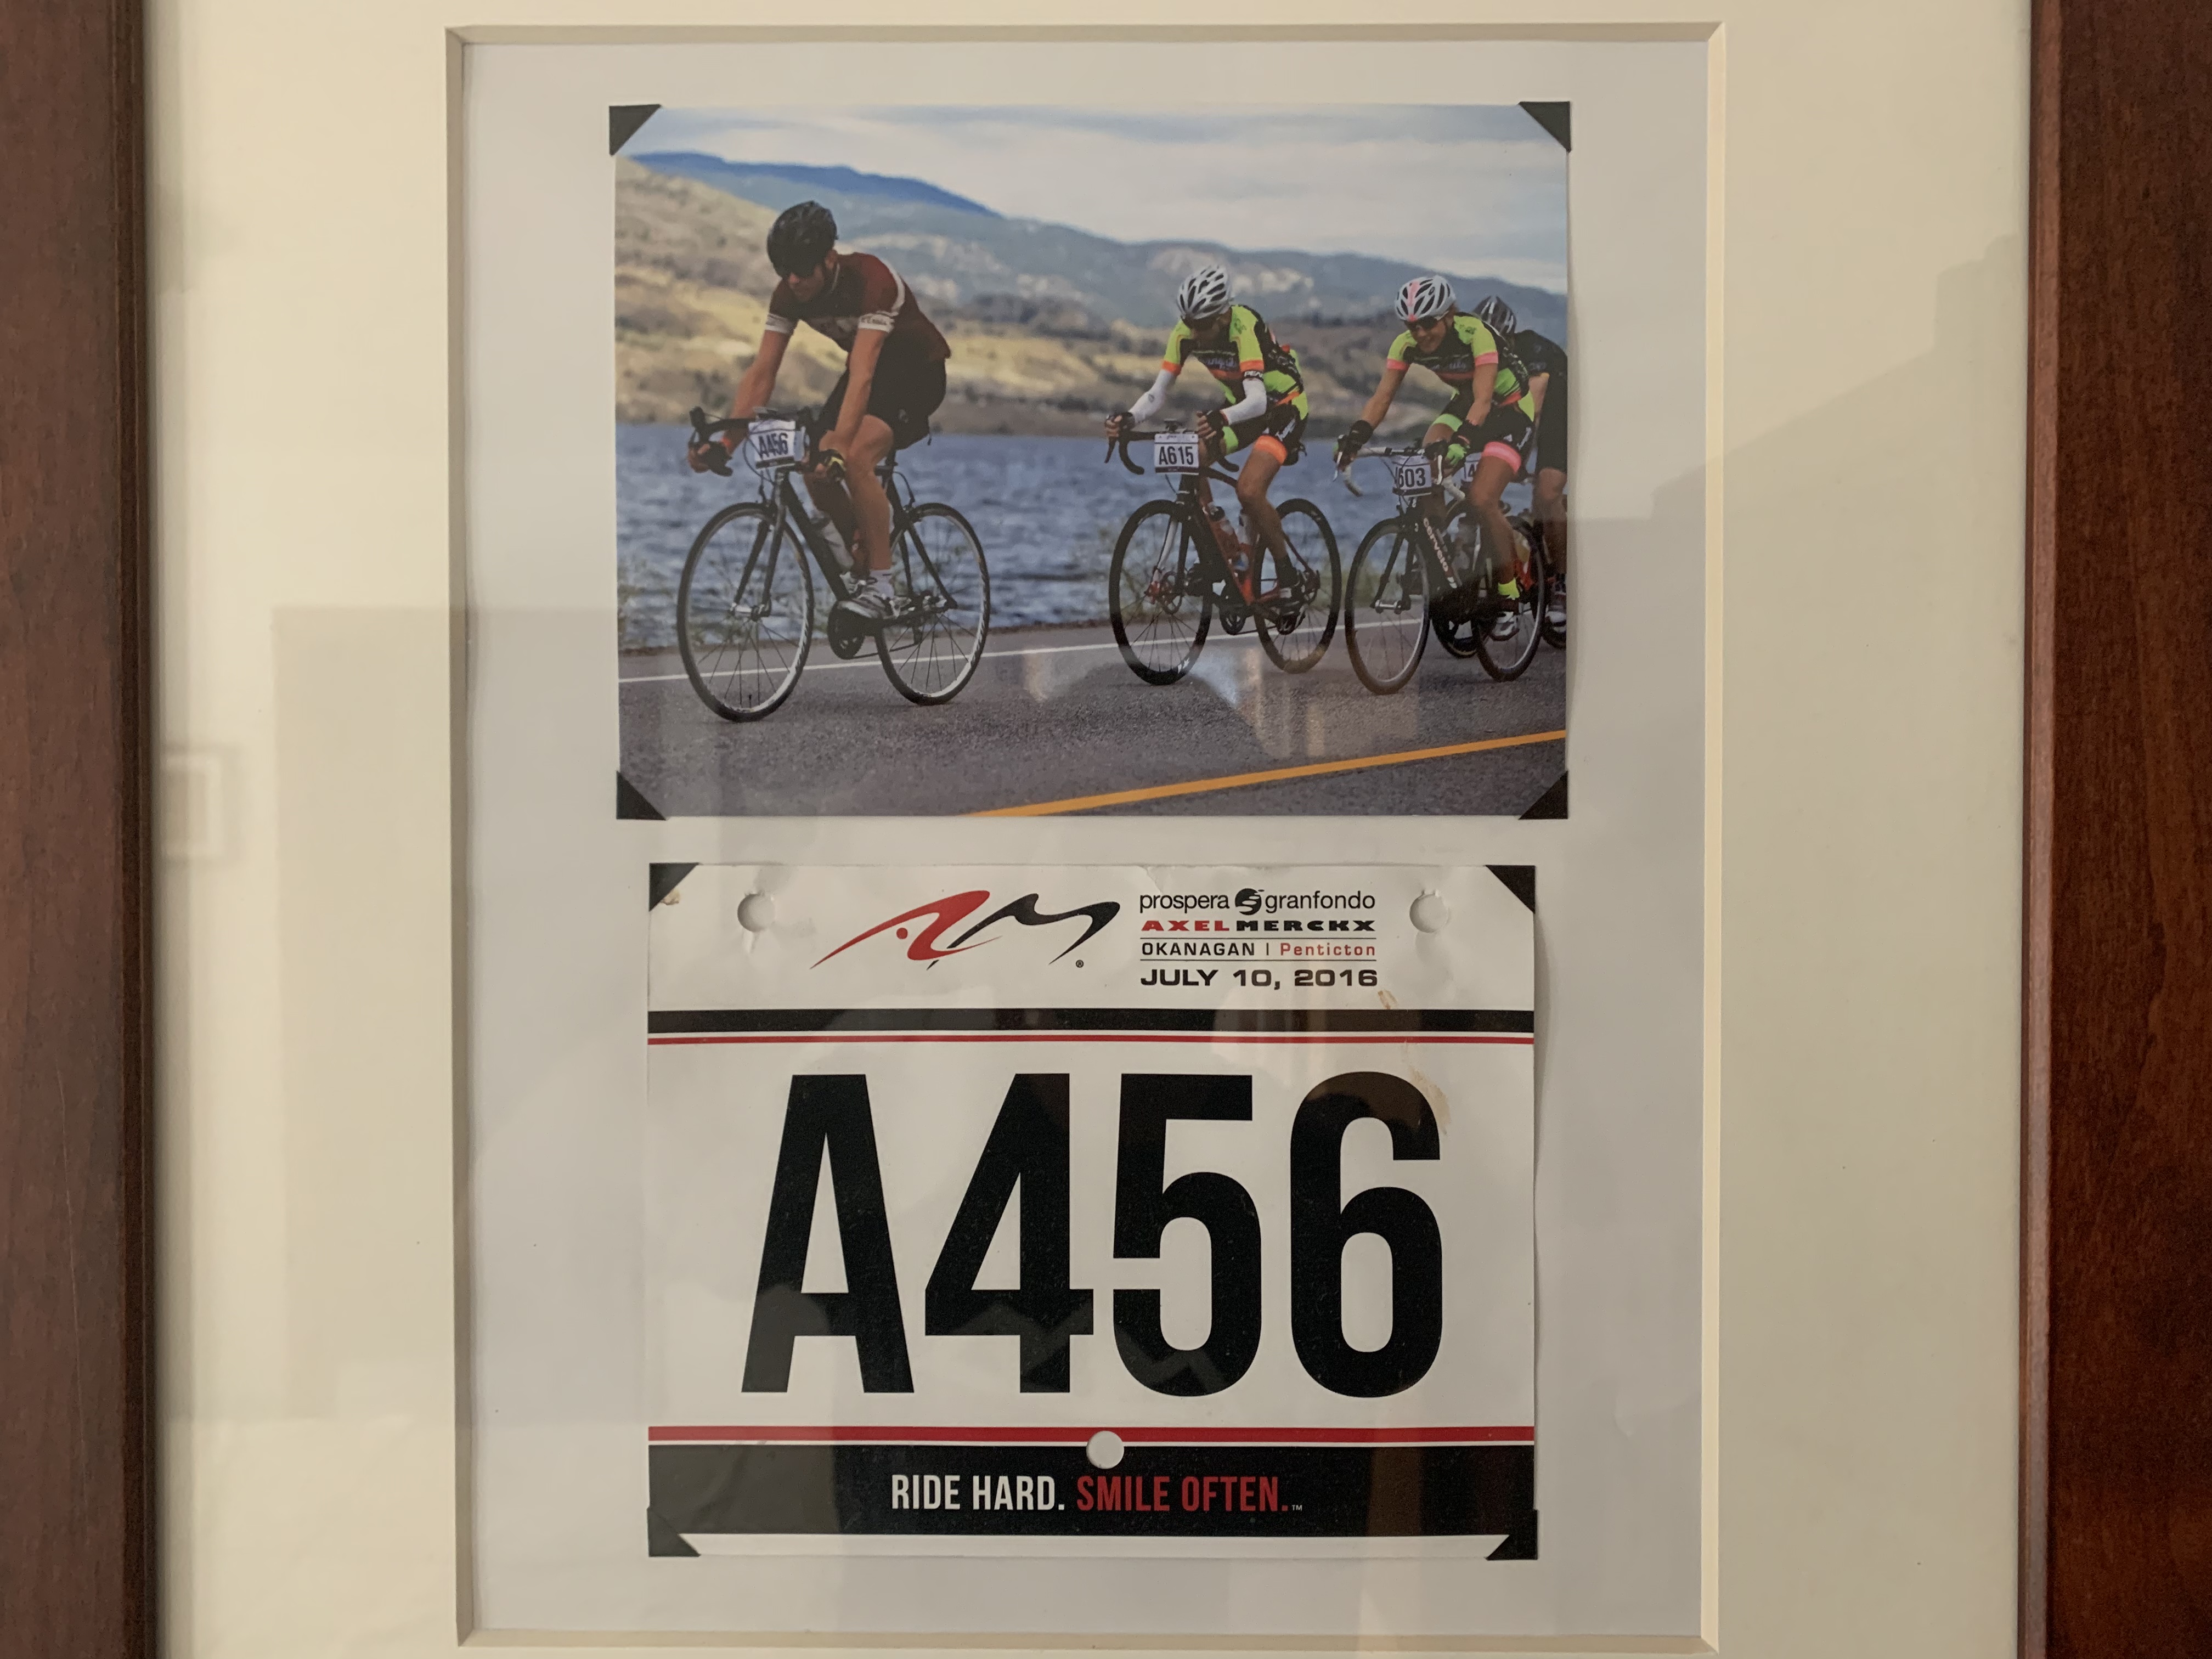
Riding the 2016 Penticton Granfondo
The Penticton Granfondo is two months away. So how do you train for a 160 kilometer event in just 8 weeks? Having ridden Dave’s Ride…