
Often confused and misused – Here is a list of the most common off-road terms and definitions for your reading pleasure. Off-road \ ˈȯf-ˈrōd \…
Category: Resource
2018 Okanagan Race/Ride Calendar

Okanagan + Surrounding Areas Knox Mnt Hill Climb Tuesday, May 15 2018 Distance: 3k Start: 6:40pm, registration opens at 5:30pm Cost: $5 + BC race…
How does Zwift zPower estimates compare with CycleOps data for the Magneto trainer?
People love to point out that I’m riding Zwift Power – which simply means that Zwift is estimating the watts that I’m generating by comparing…
A look into real world cycling aero gains – Part 3 on the Handlebars/Stem
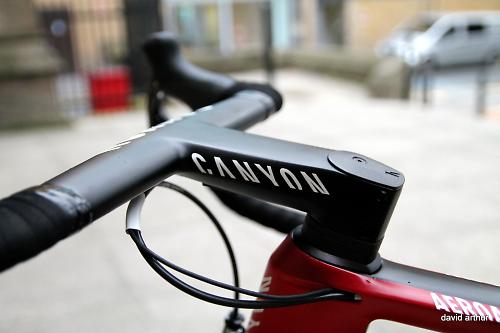
Canyon Aeroad CF SLX-014
With riders publishing their stats to Strava and Garmin Connect, among other places, it’s becoming easier than ever to understand the gains available to cyclists.…
A look into real world cycling aero gains – Part 2 on Body Position
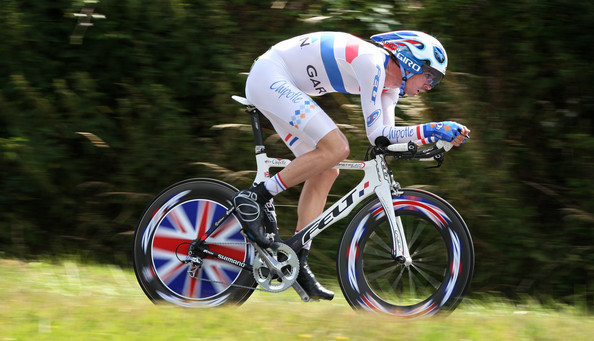
David Miller Time Trialist
Welcome to part 2 of how cycling aerodynamics effects the real world. This article will look at body position, training and most importantly how these…
A look into real world cycling aero gains – Intro and Part 1 on Clothing

Mark Cote and Chris Yu
The study of aerodynamics is a science, but when it comes to cycling it can be a bit of a black art. Go to any…
Benotto Bicycle 1979 Catalogue
Thank you to Steve Whitmore for sharing this Benotto catalogue from 1979. This is part of the attempt to document all pre 1985 Benotto models. Hopefully…
Benotto Bicycle Restoration – Sanding and Primer – Part 3

The restoration is coming along nicely. Ordered some NOS Benotto forks and they arrived safely today. The forks are made of Columbus SL tubing, the…
Benotto Bicycle Restoration – How to identify a vintage Benotto bike frame’s year and model – Part 2
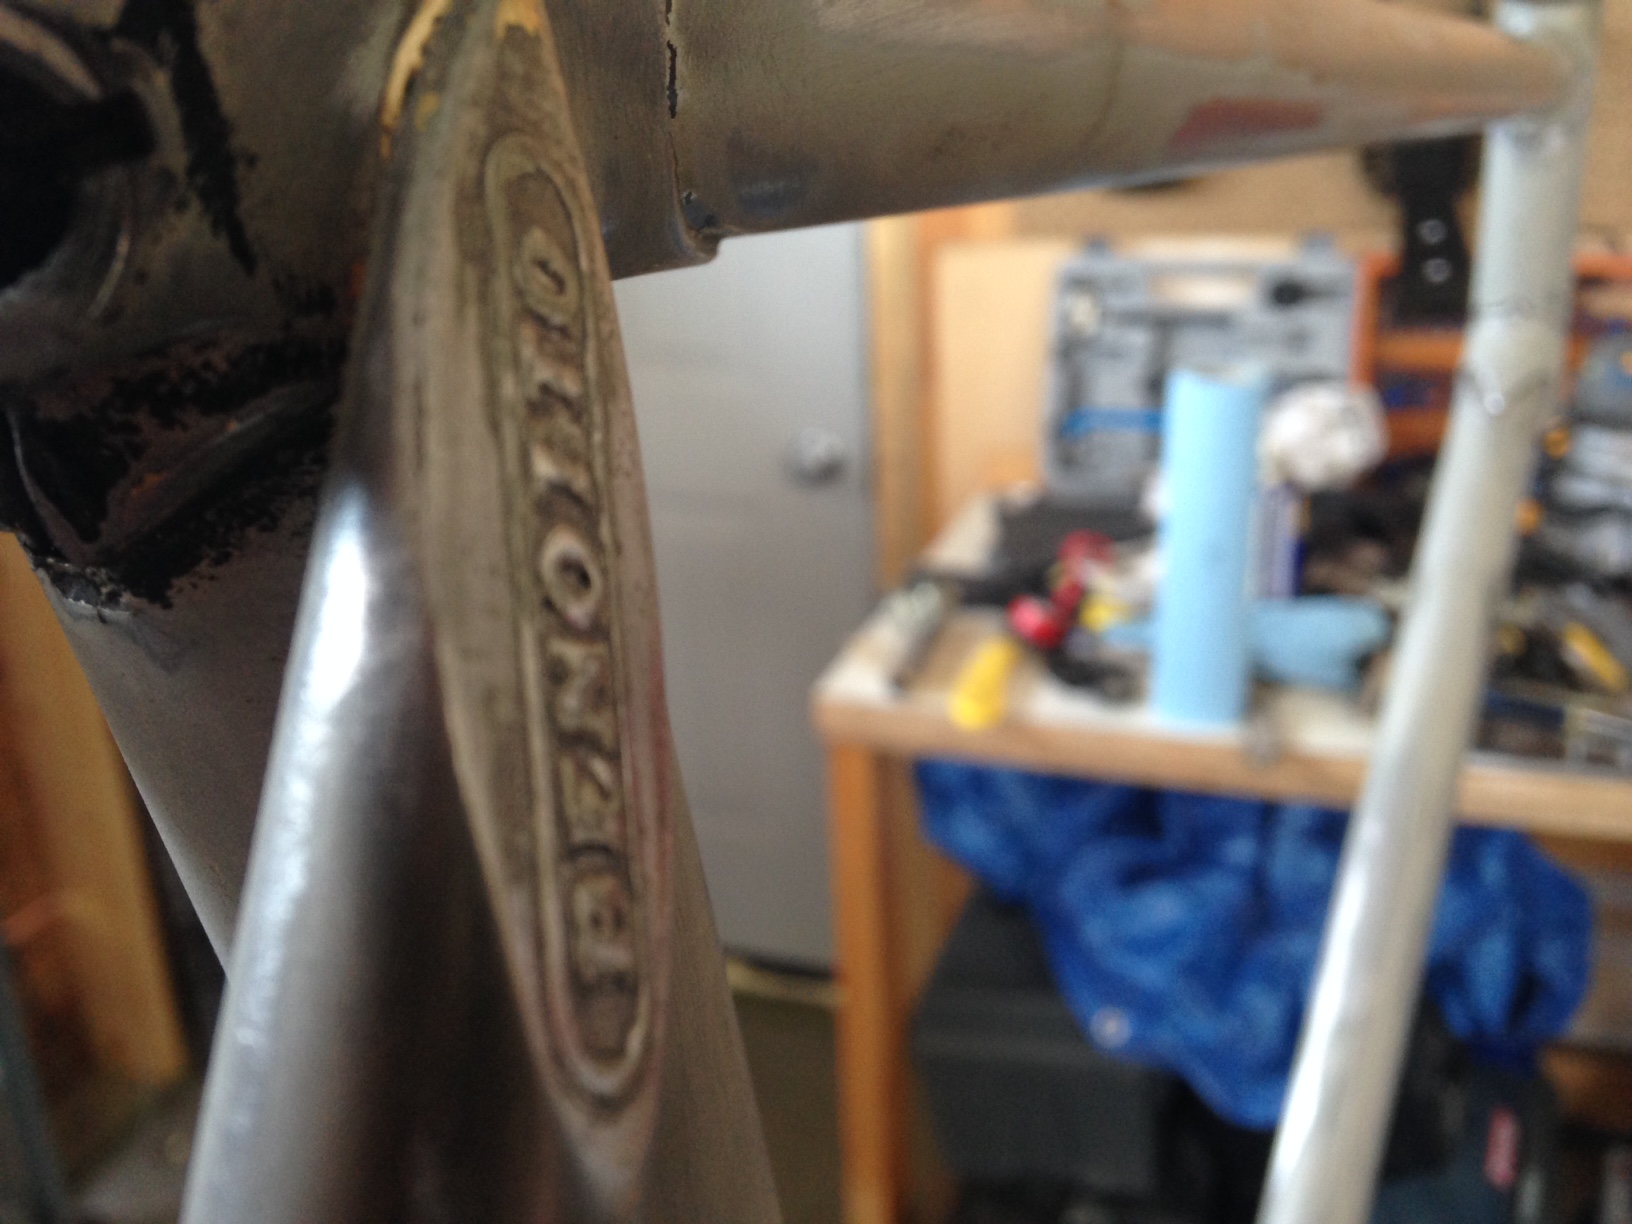
I made the mistake of painting my Benotto black after first getting it about a decade ago. Today I’m restoring it back to something fitting of…
Benotto bicycle restoration – Where the love all started – Part 1
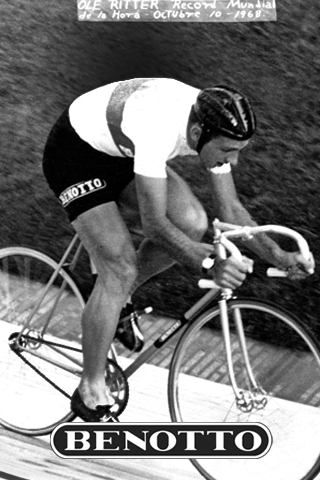
Ole Ritter breaks the hour record in 1968
The restoration – A background. I remember it like it was yesterday. It was a bright sunny morning and I had just gotten a phone call…