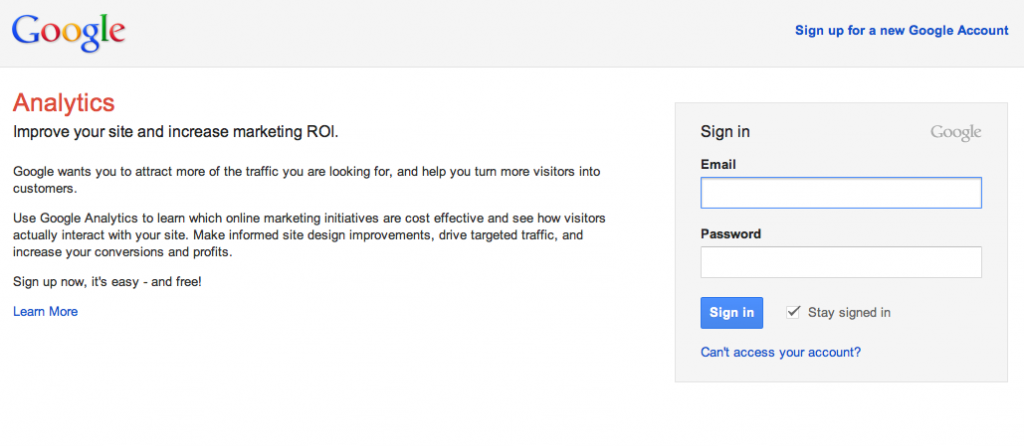
Step 1. Sign up for Google Analytics
Once you are logged into Google Analytics:
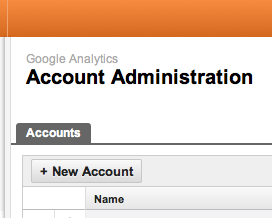
- Click + New Account.
- On the Create New Accountpage, under General Information, enter your account name and the URL for your web property. You may see that the Account Name field has a default value of the URL for your web property. You can change that value to something more meaningful.
- Under Data Sharing Settings, select the data-sharing options you want.
- Under User Agreement, select your country or territory from the menu, read the terms of service, then select the check box for Yes, I agree to the above terms and conditions
- Click Create Account.
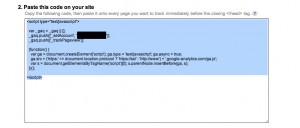
Step 3. After creating your account you will see your tracking code. Copy your analytics code for later use.
Step 4. Add code to WordPress
I will be using the functions method.
- Login to your WordPress admin.
- Expand the Appearance tab and click Editor on the menu.

- In the Edit Themes page you will see a list of files on your right. Click functions.php
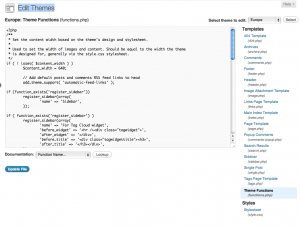
- Now on the top of the functions.php file below the comments add this code. Remember to paste your Google Analytics code from Step 3 here.
add_action('wp_footer', 'add_googleanalytics');
function add_googleanalytics() { ?>
	// Paste your Google Analytics code from Step 3 here
<? }
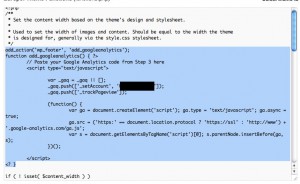
Now you have installed Google Analytics to your WordPress site. It takes 24 hours for Google Analytics to start showing your results. Log into your Google Analytics account in the next couple of days and you will see your traffic stats.

