Categories
Apache mac MAMP PHP Tutorials

Migrating PHP and Apache to latest Mac OS after update

After upgrading you MacOS, you will need to reconfigure your MAMP server. Fortunately, it’s pretty easy to do. However, sometime hiccups happen. Here’s a quick guide to follow that will walk you through the things to check.

1. enable php.ini

cd /etc

move default to php.ini

sudo cp php.ini-5.2-previous php.ini

If you need to resetup php.ini follow these directions here.

2. Enable virtual hosts

See part 1 of :

Follow the directions of part 5

How to setup multiple sites hosted on your Mac with OSX 10.8 + (MAMP Part 5)

3. Restart Apache

sudo apachectl restart

Check if it’s working.

4. Getting 500 internal error

check error log

5.  Enable rewrite engine

/etc/apache2/httpd.conf

uncomment following line

#LoadModule rewrite_module libexec/apache2/mod_rewrite.so

6. Enable PHP

/etc/apache2/httpd.conf

uncomment following line

#LoadModule php5_module libexec/apache2/libphp5.so

If you’re using php version 7, uncomment this line instead

#LoadModule php7_module libexec/apache2/libphp7.so

7. save and restart apache

sudo apachectl restart

8. If you’re still getting “ERR_CONNECTION_REFUSED”
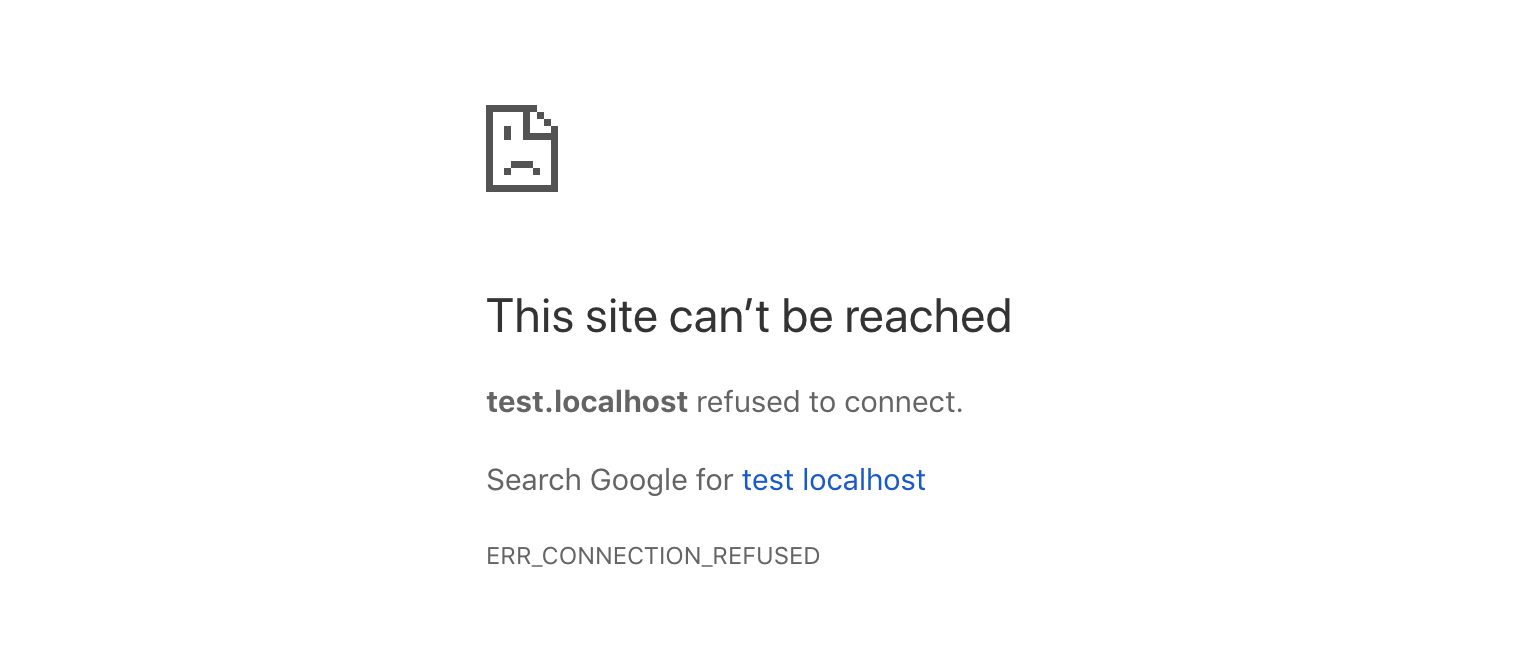
ERR_CONNECTION_REFUSED apache php error

Run configtest to see if any modules in httpd.conf need to be removed or enabled

sudo apachectl configtest

9. If you’re getting error 403

403 Forbidden You don’t have permission to access / on this server.

Check Apache is able to read the mime types. Add this line to the Mime types section in your /etc/apache2/httpd.conf file

AddType application/x-httpd-php .php


Categories
Apache MAMP Tutorials

How to restore your Mac’s Apache settings after upgrading your Mac OS

How to get your virtual host MAMP Server (Mac Apache, PHP, and MySQL) up and running again after upgrading to the latest macOS. Mac High Sierra (as of this post).

After upgrading the macOS and navigating to the directory of my localhost website, this is what I see. Instead of showing the webpage it is supposed to (as per the settings of my virtual host prior to the upgrade), it is displaying the default apache directory.

Follow the these directions to easily restore your Mac’s Apache settings (while keeping a copy of the new ones).

It works


Step 1. Restore your Apache configuration file

When apple upgrades its servers, it sets it’s Apache settings back to default. Thankfully, it does store the original files as filename~previous.

1. Open your Terminal application found in Utilities

2. Navigate to your apache directory

cd /etc/apache2

3. Move the new config file to keep it as a backup

sudo mv httpd.conf "httpd.conf~new"

4. Move the original config file back

sudo mv “httpd.conf~previous” httpd.conf

Step 2. Restore your Virtual Host settings

1. Navigate to your apache extra directory

cd /etc/apache2/extra

Run the following command to reset your virtual host file

2. Move the new file.

sudo mv httpd-vhosts.conf "httpd-vhosts.conf~new"

3. Move the old file back

sudo mv "httpd-vhosts.conf~previous" httpd-vhosts.conf

Step 3. Restart Apache

Run the following command

sudo apachectl restart

Congrats! You’re done.

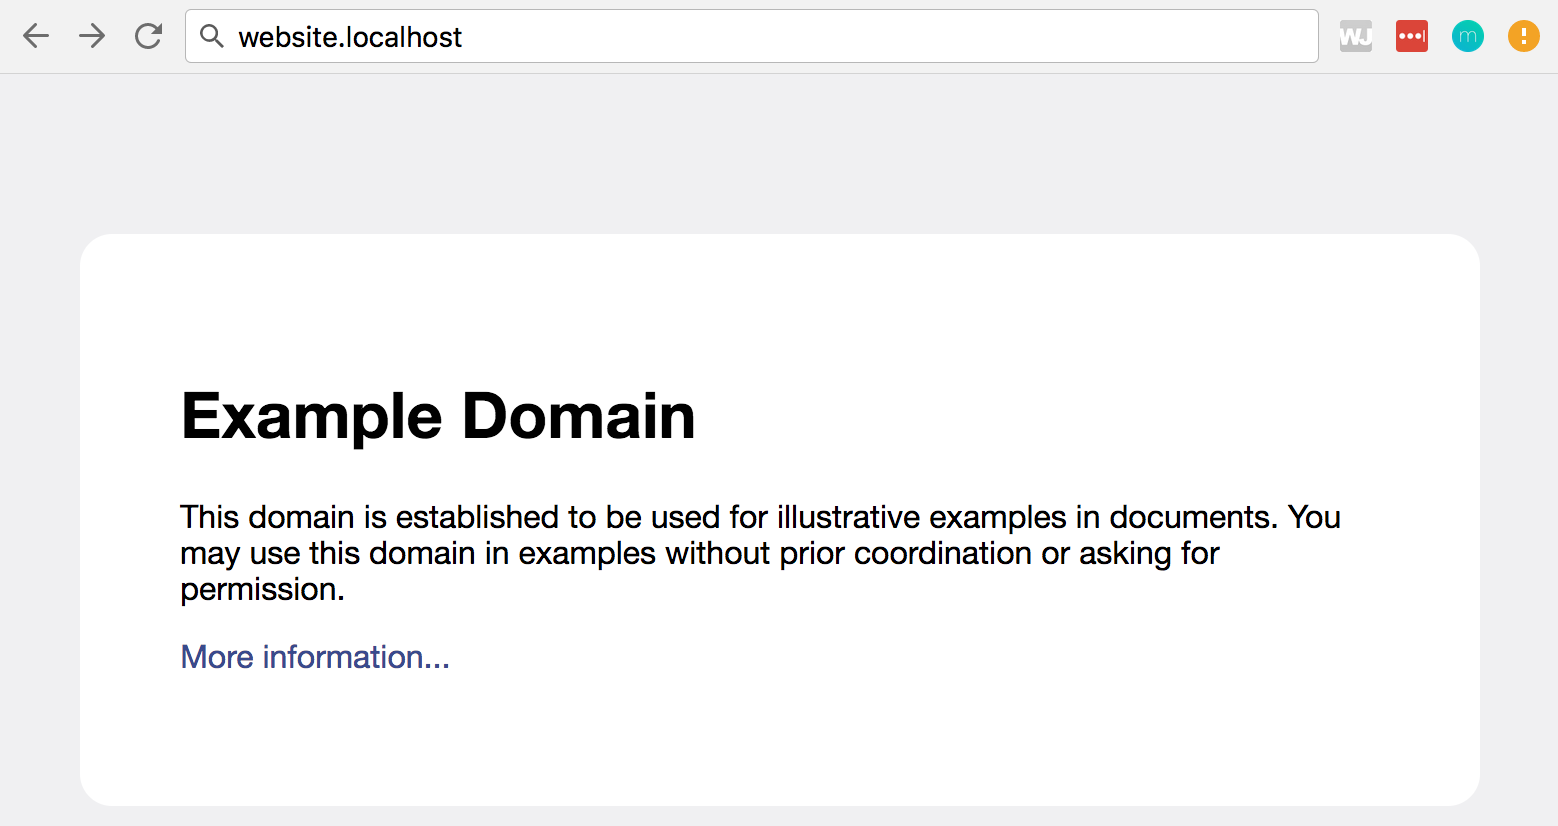
Navigate to your localhost website and refresh the page. It should appear as it did before the upgrade. This website below is an example, your website will appear however you have designed it.

Apache example website


If you’re stilling having issues, I’ve added a checklist of steps here.

Categories
Apache MAMP PHP Tutorials

How to install Apache and PHP on a Mac (MAMP Part 1)

This tutorial will show you how to set up an Apache server to run PHP on a mac OSX 10.8+ with Mountain Lion or later operating system. Tested on OS X Mountain Lion, OS X Mavericks, OS X Yosemite 10.10+, macOS El Capitan, macOS Catalina

Last updated Aug 7, 2020

Updated for macOS Catalina