Categories
Apache mac MAMP PHP Tutorials

Migrating PHP and Apache to latest Mac OS after update

After upgrading you MacOS, you will need to reconfigure your MAMP server. Fortunately, it’s pretty easy to do. However, sometime hiccups happen. Here’s a quick guide to follow that will walk you through the things to check.

1. enable php.ini

cd /etc

move default to php.ini

sudo cp php.ini-5.2-previous php.ini

If you need to resetup php.ini follow these directions here.

2. Enable virtual hosts

See part 1 of :

Follow the directions of part 5

How to setup multiple sites hosted on your Mac with OSX 10.8 + (MAMP Part 5)

3. Restart Apache

sudo apachectl restart

Check if it’s working.

4. Getting 500 internal error

check error log

5.  Enable rewrite engine

/etc/apache2/httpd.conf

uncomment following line

#LoadModule rewrite_module libexec/apache2/mod_rewrite.so

6. Enable PHP

/etc/apache2/httpd.conf

uncomment following line

#LoadModule php5_module libexec/apache2/libphp5.so

If you’re using php version 7, uncomment this line instead

#LoadModule php7_module libexec/apache2/libphp7.so

7. save and restart apache

sudo apachectl restart

8. If you’re still getting “ERR_CONNECTION_REFUSED”
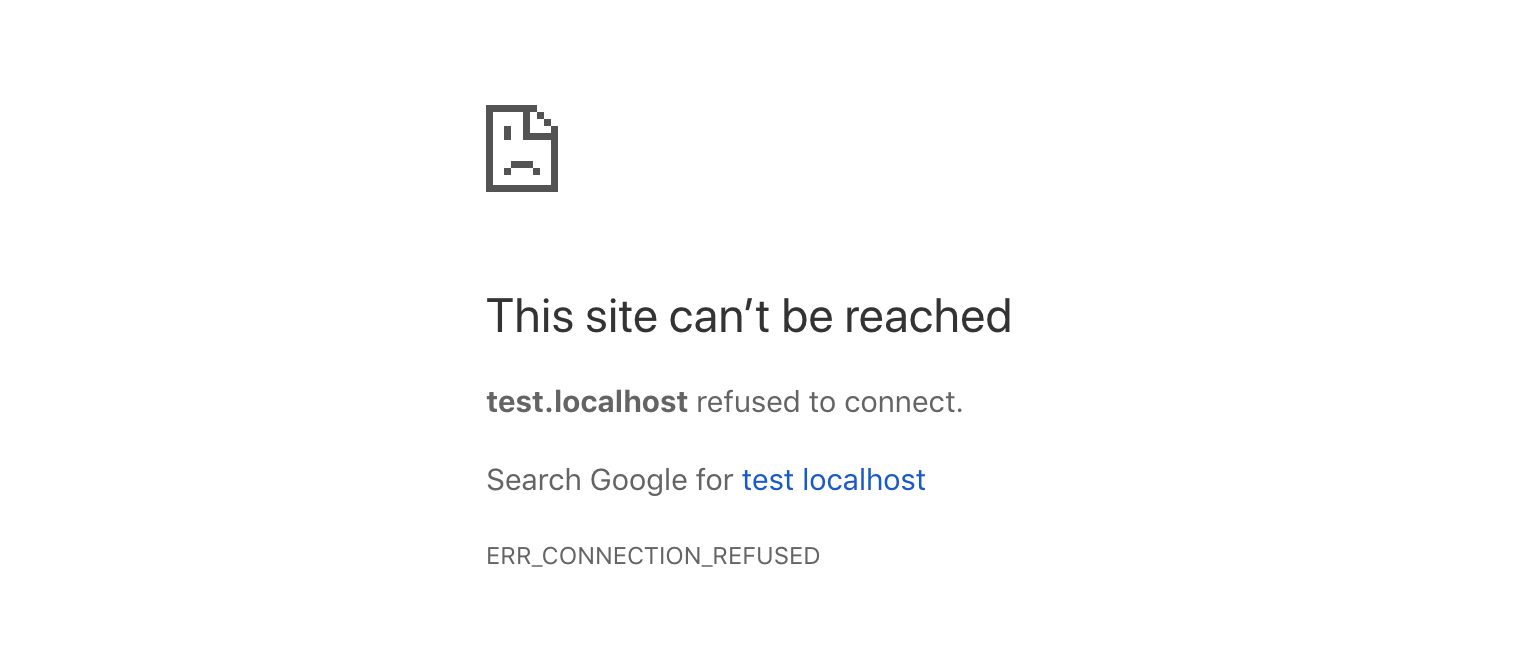
ERR_CONNECTION_REFUSED apache php error

Run configtest to see if any modules in httpd.conf need to be removed or enabled

sudo apachectl configtest

9. If you’re getting error 403

403 Forbidden You don’t have permission to access / on this server.

Check Apache is able to read the mime types. Add this line to the Mime types section in your /etc/apache2/httpd.conf file

AddType application/x-httpd-php .php


Categories
PHP Tutorials

What does the symbol “&” “&&” “||” “::” “%” “!!” “**” mean in PHP?

This is the best guide on PHP symbols I’ve every seen. If only something like this existed when I was first learning to code.

Reference:

& =& &= && % !! @ ?: : :: \ -> => ^ >> <<< = == === !== != <> | || ~ + += ++ .= . , $$ ` <?= [] ... **

A list of every symbol in PHP that you’ve ever wanted to know the meaning of.

::

The “::” symbol (Scope Resolution Operator) explained

Categories
mac MAMP PHP Tutorials

How to turn display_errors to on in php.ini file

This is a quick tutorial that will walk you through turning display errors on in your php.ini file.

Categories
MAMP PHP Tutorials

How to enable and setup php.ini on a Mac with OSX 10.8 + (MAMP Part 4)

Welcome to part 4 of the MAMP tutorial. In this post we will go over setting up php.ini on your Mac’s localhost.

Categories
Apache MAMP PHP Tutorials

How to install Apache and PHP on a Mac (MAMP Part 1)

This tutorial will show you how to set up an Apache server to run PHP on a mac OSX 10.8+ with Mountain Lion or later operating system. Tested on OS X Mountain Lion, OS X Mavericks, OS X Yosemite 10.10+, macOS El Capitan, macOS Catalina

Last updated Aug 7, 2020

Updated for macOS Catalina

Categories
Git PHP

Solved: Running git pull from a php script causing an error?

I wanted to improve my Git workflow, so I went about using GitHub’s Service Hooks to set up a web hook to my development server. The idea being that I would have GitHub ping my server every time I or anyone else pushes to the master GitHub repository.

The idea was pretty simple. I would have a php file located on my development server with following command.

<?php shell_exec('git pull'); ?>

However, I quickly ran into the following permission error.

error: cannot open .git/FETCH_HEAD: Permission denied

The reason being was that my server’s Apache user doesn’t and shouldn’t have access to the root. However, to run git pull, it was trying to access the host keys, which are stored in the ~/.ssh/known_hosts file. As you can see, these files are located in the root.

So I was scratching my head for a solution when I came across this terrific tutorial, Github playground servers and auto pull from master, posted by Konstantin Kovshenin. Konstantin proposed a simple, but brilliant, solution of using the GitHub service hook to ping a local php file that would signal a server cron job to handle the git pull. If you are trying to do the same thing, and experienced the above error, follow the Konstantin’s tutorial and it should work for you.

Final notes: having a development server automatically pull from the Git repository is very useful, however it is not a good idea for production servers. It is more secure and more controlled to manually update your production servers git repository from the command line.

Categories
PHP

The Scope Resolution Operator (::) explained

Double Colon object oriented programming

I remember when I first came across the mysterious double-colon (::), also known as the Scope Resolution Operator. I was experimenting with a php library I hadn’t written, but was asked to extend, and at the time I had no idea what classes were, how they worked, or how they helped.

To try and figure out what the double-colon did I remember I peppered Google search with questions like, “What is the :: ?” or “what does the :: symbol mean?”  Those searches proved useless. At the time php5 was still very new and most PHP coders were writing procedural code rather than object-oriented code.

Now that I use object-oriented design every day I thought I would explain what the double colon :: means, just in case there are any new PHP programmers, like I was, and are confused by the mysterious double colon.

When and how to use the double-colon:

You use the double-colon to access static methods from a class. To get the color of the bear, from the example class I wrote about here, you would write the following.

Bear::getColor();
Code language: CSS (css)

I will break the above line of code into its three parts.

1. Bear – First you write the name of the class you are referring to. In this case Bear.

2. :: – Then you use the double-colon because the method is declared as static.

3. getColor(); Then you write the name of the function you are calling that exists within that class.

And that’s the basic use of the double-colon to call a method from within a class.

The double-colon is simply a way of referencing the class object and accessing the static methods (functions) and constants within that class. If you are new to this I just said a lot. I explain these things briefly here.

Categories
PHP

PHP Classes briefly explained

Writing classes in php

What is a Class

A class is also known as an object. To better understand the concept of an object, think of it as you would a material object like a bear. Let’s pretend that we are going to have to make a bear using a class. To start you would give the animal a name. In this case, class Bear. Then you would need to add characteristics. Like the animal’s color and weight. These would be the variables declared at the beginning of the class. You are declaring them as variables as it is possible that these characteristics might change with different bears. You may have the variable $color = ‘white’ or $weight= ‘500kg’. You may also have constants, these don’t change. A constant might be something that classifies a bear as a bear, for example some Scientific classifications would be KINGDOM = ‘Animalia’, or PHYLUM = ‘Chordata’. These things are common to all bears and do not change. You would also have methods. Methods are functions that either call data about the bear or calculate something for the bear and return the values back to the caller. You may have the function getColor(), to get the color of the bear. Or getKindom() to get the kindom of the bear.

When you write a class you have the option of declaring a variable or method public or private. A public method or variable is accessible by all. A private method or variable is only accessible to methods and variables within the class. A good rule of thumb in writing classes is to try to avoid making variables public. You may need to edit your classes over the course of time and the variable may change, this would affect any application that would have been referring to the variable had it been public. Rather, try to refer to variables only using methods. This ensures that even if you change how or where you store the information, the method to get the information could be rewritten to handle the changes so the applications referring to your class would continue to work and know no different.

To create a class simply write: 

class Bear { #Any code goes here }
Code language: PHP (php)


The following is an example of a simple class. A class can include variables (methods), functions, constants etc.

class Bear { const KINGDOM = 'A constant value'; const PHYLUM = 'Chordata'; private static $color = 'White'; private static $diet = 'Salmon and Berries'; public static function getColor() { echo self::$color; } public function getDiet() { echo self::$diet; } }
Code language: PHP (php)

Important Notes:

Usually it is good practice to save each class in individual files. In this case I would save the above class in the file Bear.class.php. I like to include .class within the file name. It is not necessary but it makes it much easier to know which files are classes.

There are a lot more to using Objects than what I showed you in the simple example above. But that is all you really need to know to get started using static functions and classes.

In the future I will create more tutorials showing you how to extend objects and to call them. And explain what new ClassName(); means and how the operator -> works.

Categories
PHP

Increase PHP Script Execution Time Limit Using ini_set()

Today I had to set the PHP script execution time directly from within the php file. Here’s what I did.

Add the following code to your file. You can change the seconds to what you need. It is important to be careful using this on a live server. If you allow a script to run too long you could hog all your servers resources and bog the site way down. 5 minutes is a lifetime in server time and it might be longer than you need.

ini_set('max_execution_time', 300); //300 seconds = 5 minutes
Categories
MySQL PHP

What to do when you have the error “too many connections”

Recently our servers went down. The error we were getting was “Too many connections”. This meant that we needed to increase the limit on the number of available connections within our mysql config file. The setting is called

max_connections

Before you go upping the number of max user connections there are two things to consider.

1. Is your code opening and closing the connections efficiently?

According to the mysql “using mysql_close() isn’t usually necessary, as non-persistent open links are automatically closed at the end of the script’s execution.” However, there are rare occasions where the connections do not close properly, so it is always a good rule of thumb to include mysql_close() at the end of your scripts.

Another mistake that can occur is that you may be unintentionally opening a new connection for each query, rather than opening one connection and then closing it once all your queries are completed. This will definitely increase the number of user connections.

Also, using persistent connections are generally frowned upon these days. For php using mysql_connect has actually proven to be more efficient.

2. Do you have enough memory (RAM) available to handle your increased connections.

Once you know your code is clean and you are still running out of available user connections the next step will be to increase your number of max_connections on your mysql config file.

It is important to calculate your available memory before upping your connection limit however, other wise you will encounter this error:

Connect Error (1135) Can't create a new thread (errno 12); if you are not out of available memory, you can consult the manual for a possible OS-dependent bug

This error is simply telling you that you are using too much memory. To avoid this error when upping your connection number use the following formula to calculate your number of available connections.

Key_buffer_size + ((read_buffer_size + sort_buffer_size)*max_connections) = memory needed

If you know your server’s ram, calculating the number of max_connections is straight forward.

I hope this helps you if you are encountering this problem

Note: Your current settings for Key_buffer_size, read_buffer_size, sort_buffer_size and max_connections can all be found in your mysql config file.